Mixed Media Art for Beginners: A Small Kit, the Layer Order and a First Project
Mixed media art combines two or more materials, such as paint, paper and pencil, in one piece. Start with heavy paper, gel medium and three materials you own, put wet layers down first, dry media next and oily media last, and make a small layered card.
By Lionel Rutledge ·
On this page
Mixed media art is any piece that combines two or more materials, such as paint, cut paper and pencil, on one surface. You can start with heavy paper, a jar of gel medium and three materials you already own. The one rule that matters most is the order: wet layers first, dry drawing media next, oily media last.
Tate defines mixed media as "artworks composed from a combination of different media or materials". It is not the same as multimedia. On the same page, Tate says multi-media "is generally used to define an artwork that uses or includes a combination of electronic media", such as video, film, audio and computers. An early, famous example is Picasso's Still Life with Chair Caning, made in spring 1912.
What is mixed media art called? Usually just "mixed media", which is how Tate files it in its glossary. Collage and assemblage are names for particular kinds of it.
The kinds you will meet most often:
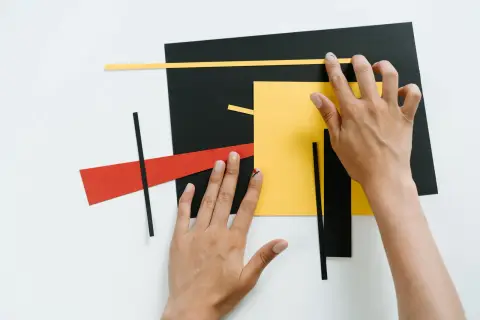
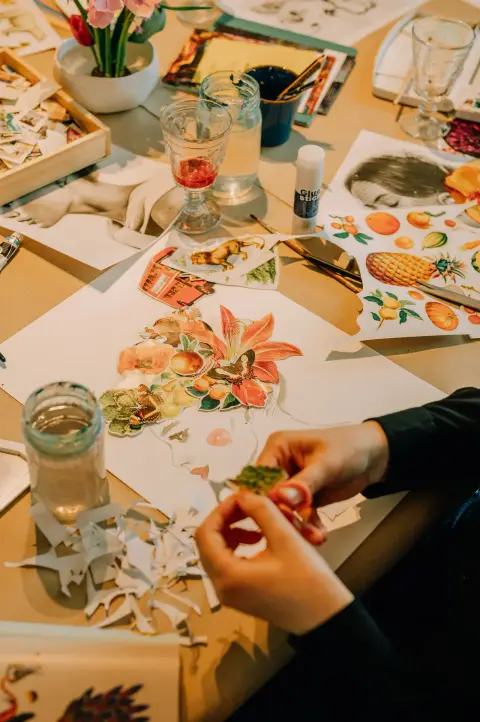
- Collage: pieces of paper, photographs, fabric and other ephemera "arranged and stuck down onto a supporting surface", in Tate's definition of collage.
- Layered wet-and-dry work: paint or ink underneath, with pencil, colored pencil or pastel drawn on top. This page is mostly about this kind.
- Art journals and altered books: mixed media on the pages of a sketchbook or an old book. The National Museum of Women in the Arts describes altered books as "art objects created with existing printed books".
- Assemblage: the three-dimensional version, which is also what "mixed media sculpture" usually means. Tate describes assemblage as art "made by assembling disparate elements – often everyday objects".
This page is the start of our mixed-media guides. It covers what to buy, which surface takes which material, the layer order, a first project and how to make the work last. It sits in our other making guides, next to clay and crochet.
What you need for your first mixed media piece
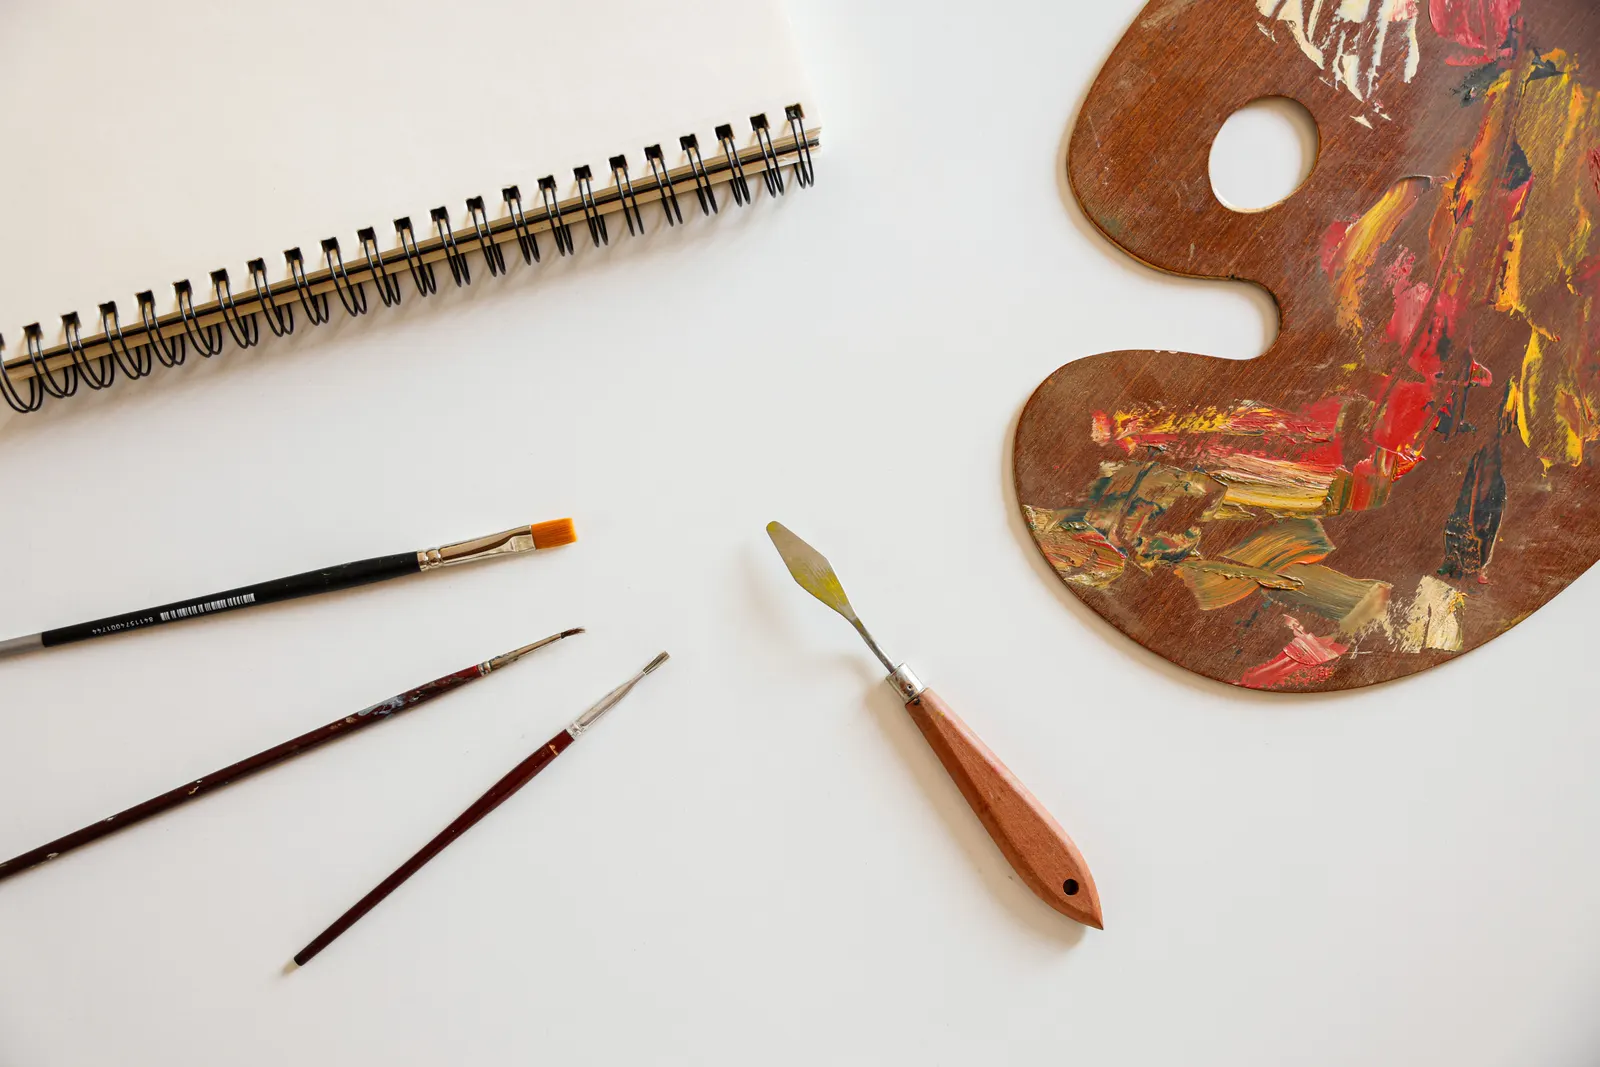
- Heavy paper
- A pad of mixed-media paper, aim for about 300 g/m². Thin paper ripples under glue and paint.
- Gel medium
- One small jar of matte gel medium. It glues the papers down and can coat over them too.
- Gesso (optional)
- A small tub of white acrylic gesso, for when you want a whiter surface with more grip.
- One wet medium
- Three acrylic colors plus white, or the gouache you already have.
- Papers to glue
- Tissue paper, old drawings, your own painted scraps, printed paper you are allowed to use.
- Dry media
- A pencil and a few colored pencils.
- One oil pastel (optional)
- For a last bright accent.
- Tools
- A flat brush for glue, an old plastic card, baking paper, masking tape and a heavy book.
Paper weight is the first thing to check, and the word "mixed media" on the cover does not settle it. Strathmore lists its 400 Series Mixed Media at 184 lb, 300 g/m², for watercolor, gouache, acrylic, pen, pastel and collage. Its 300 Series Mixed Media is 117 lb, 190 g/m², and the maker pitches it at sketches and quick studies. Both carry the same label. Read the g/m² figure on the cover instead.
Gel medium earns its place because it does two jobs. Liquitex describes its BASICS Matte Gel Medium as a paint medium you can also "use as a collaging adhesive". Golden says of its Soft Gel Gloss that "the value of Soft Gel Gloss as a collage medium cannot be overstated". Matte or gloss is a matter of taste. I would pick matte, because you will draw on top of it later and a pencil tends to slide on a smooth gloss film.
Gesso is a primer. Golden calls its Gesso an acrylic ground that gives a surface "tooth" so paint grips. It is "suitable for acrylic and oil paints (and many other media)". On heavy paper you can skip it for a first piece.
Skip for now: modeling paste, stencils, gold leaf, spray varnish, a mixed-media "starter set" and a box of markers. Buy one of these only when a project needs it. The markers have a separate catch, explained in the section on making it last. A drawer full of gold leaf has never rescued a layer that went down in the wrong order.
Which surface takes which material
Heavy paper takes almost everything at beginner scale. Light paper is fine for dry media and quick washes, and a gessoed surface is the safest base for thick paint and lots of glue. The table is our guidance built from the makers' statements linked in this section; "test first" means try it on a scrap of the same surface.
Scroll sideways for all 6 columns.
| Surface | Watercolor or gouache | Acrylic paint | Gel-medium collage | Pencil, colored pencil | Oil pastel |
|---|---|---|---|---|---|
| Light mixed-media paper (about 190 g/m²) | Light washes | Thin layers | Small, thin papers only | Yes | Yes, as the last layer |
| Heavy mixed-media paper (about 300 g/m²) | Yes | Yes | Yes | Yes | Yes, as the last layer |
| Paper or panel coated with acrylic gesso | Test first | Yes | Yes | Yes | Yes, as the last layer |
| Primed canvas board | Test first | Yes | Yes | Test first: the weave shows through | Yes, as the last layer |
Two points need a reason. Watercolor and gouache on gesso get "test first" because gesso changes how the surface takes water, and results vary by brand. Gouache is also a special case under glue. Reeves notes that "Gouache can be reactivated with water", so wet gel brushed over it can drag the color. Use gouache for top areas you will not glue over, and use acrylic for any layer that will sit under glue. Our gouache guide for beginners covers the paint itself.
In what order do you layer mixed media?
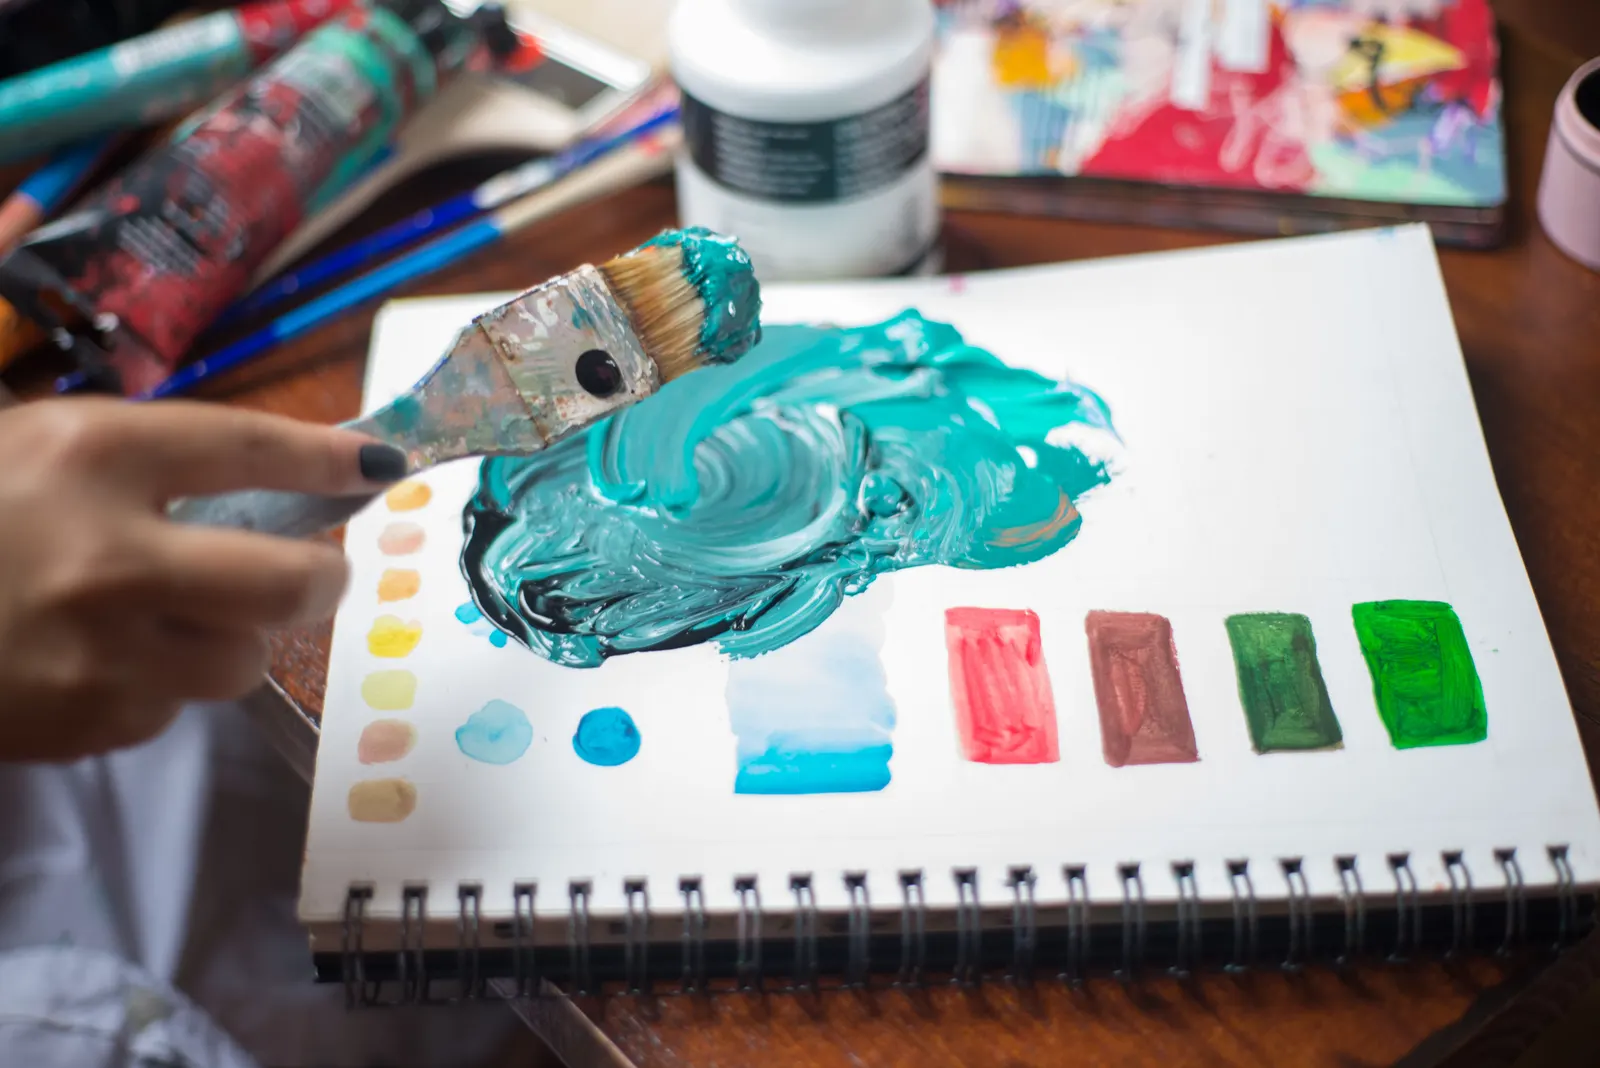
Put down wet, water-based layers first, let each one dry, then add dry drawing media, and finish with anything oily or waxy. That order keeps every layer able to grip the one below it.
Scroll sideways for all 3 columns.
| Order | Layer | Why here |
|---|---|---|
| 1 | Gesso (optional) | It gives the surface tooth. Golden recommends thin coats, because "thick single-applications may crack". |
| 2 | Water-based color: acrylic, watercolor, gouache, ink | The broad color areas. Let each layer dry before the next. Use acrylic under areas you will glue over. |
| 3 | Collage papers in gel medium | Glue sits well on dry acrylic. Gel over damp paint smears it. |
| 4 | More paint over parts of the collage | Ties the papers into the picture. |
| 5 | Pencil and colored pencil | Dry media need a dry surface to grip. |
| 6 | Oil pastel, oil paint | Oily layers go last. Water-based layers do not grip them. |
The last row has the clearest maker statement behind it. Golden says oil over acrylic is fine with care, "but acrylics over oil paints and oil grounds should be avoided". The reason: "Oil paints form tight, water-resistant films that provide poor adhesion when acrylics are painted on top of them." Oil pastel is a cousin of that problem. Its binder is usually a mix of non-drying oil and wax, and it never dries out completely. Water-based paint tends to bead on it, so keep oil pastel for the end and test on a scrap if you want to paint over it.
What about "fat over lean"? Many mixed-media tips repeat it, but it is an oil-painting rule. Winsor & Newton explains it for oil color. "Each new layer of paint should contain slightly more medium than the one underneath," says its guide. The point is to protect the painting from cracking. It matters only if you add oil paint on top. With acrylic, gouache, paper and pencil, the rules that matter are dry before the next layer, and water-based under oil-based.
Read the label of every paint, medium and glue before you open it, and follow what it says about air and skin. Keep food and drinks off the table, and wash your hands and brushes when you finish. If a product carries a caution label, keep it away from children.
First project: a torn-paper window card
You will make one A5 card (148 × 210 mm) with a painted background, three glued papers, drawn lines and one oil-pastel accent. It uses five layers in the right order, so it teaches the system rather than one trick. This is a proposed exercise, not a record of a card we made. Plan for two short sessions, because the layers need to dry in between.
- Tape the paper. Tape a sheet of heavy paper flat on all four sides with masking tape. Check: the tape is pressed down along every edge.
- Gesso, if you use it. Brush one thin coat across the sheet. Golden says its gesso can be thinned with water up to 25% and suggests 1 to 3 hours between coats. One coat is enough here. Check: you see brush marks, not ridges.
- Paint the background. Use acrylic in two or three colors. Paint a light field over most of the card and a darker band where a "window" will sit. Thin paint dries faster and stays flat.
- Stop and check it is dry. Touch a corner with a clean fingertip. If it feels cool or tacky, wait. Gluing onto damp paint smears it, and that cannot be undone.
- Tear and plan the papers. Tear three pieces: one big, one medium, one small. Lay them on the card dry and move them until the layout works. Take a phone photo of the layout before you pick them up.
- Glue with gel medium. Brush a thin layer of gel on the card where the first paper goes. Lay the paper down, brush a thin coat of gel over it, and smooth it from the center out with the plastic card. Repeat for the other two pieces. Check: no bubbles; press out any you see while the gel is wet.
- Press it flat. Lay baking paper on the card, then a heavy book, and leave it until the gel is dry. Baking paper keeps the book from sticking.
- Paint into the collage. Brush a little background color over one edge of each paper, so the papers sit in the picture instead of on it. Let it dry again.
- Draw. Add lines with pencil and colored pencil: a window frame, a horizon, some writing. Press lightly over the glued papers.
- Add the oil pastel last. One small bright mark, such as a sun or a light in the window. Then peel the tape slowly at a low angle.
What "good" looks like: flat papers with no lifted corners, a background that shows through in places, and one bright accent on top. Mixed media usually goes through an ugly middle stage after step 6. That is normal. Keep going to step 8 before you judge it.
Fixes for the usual problems: Scroll sideways for all 3 columns.
| Symptom | Likely cause | Fix |
|---|---|---|
| Paper wrinkles as you glue it | Too much wet glue on thin paper | Use less gel, smooth from the center, press under a book |
| Background color smears into the glue | Paint not fully dry, or gouache that re-wets | Wait longer; use acrylic under areas you glue over |
| Corners lift after drying | Too little gel at the edges | Brush gel under the corner, press, dry under a book |
| Paint beads on part of the card | Wet paint over oil pastel or a waxy paper | Keep oily marks for the last layer |
| Sheet curls as it dries | Light paper and a lot of water | Tape all four sides; use heavier paper next time |
Two more project plans with the same kit
Both plans use the same layer order. Pick one once the window card is dry.
Scroll sideways for all 4 columns.
| Plan | Surface | Layers in order | What it teaches |
|---|---|---|---|
| Map page | Heavy paper, A5 | Thin acrylic wash → tissue paper in gel → pencil lines and street names → colored pencil for two "places" | Thin papers and transparency: tissue in gel lets the color below show |
| Night scene on a gessoed board | Small panel or canvas board with 1–2 thin gesso coats | Dark acrylic sky → torn paper hills in gel → paint over the hill edges → oil pastel stars and windows | Covering, edges and an oily top layer on a firm surface |
If the drawing part feels shaky, our drawing plan for beginners builds the line work you need for step 9. For pieces you want to use rather than hang, such as a painted box lid, see what changes in functional art you can actually use.
How to make mixed media art last
Choose papers, glue and color that do not yellow or fade, and keep the piece out of direct sun. Three swaps cover most of it.
Swap newspaper for paper you made or bought for art. The Canadian Conservation Institute says newspaper is "particularly unstable due to the large percentage of acidic ground wood pulp". Such paper is "susceptible to yellowing and embrittlement over time". The US National Archives adds that light, high humidity and air pollution promote its discoloration. Old book pages and cheap magazine paper can carry the same risk. The CCI links yellowing to "wood pulp paper" in general, and you rarely know what an old page is made of. Newspaper and old pages are fine for a practice page. For a piece you want to keep, use your own painted scraps, tissue, or prints on paper labeled acid-free.
Swap ordinary markers for pigment-based pens. Winsor & Newton is blunt about its own Promarker markers: "Promarkers, except for the Promarker Watercolours, are not lightfast". The reason is dye-based ink, "and anything dye based will be prone to fading." Check the pen's label for "pigment" before you use it on a keeper.
Read the lightfastness rating on your paint. Many artist paints carry an ASTM lightfastness rating from I to V. Winsor & Newton explains that "I is the highest lightfastness available and V is the lowest", and "both ratings I and II are considered permanent for artists' use". If a paint shows no rating, you cannot tell how it will behave in light. Keep pieces made with it out of the sun.
Glue: an acrylic gel medium is our default for pieces you want to keep. Golden writes that its Soft Gel Gloss can "create a permanent bond with canvas or panel". If you use a craft glue-sealer such as Mod Podge, check the label for "acid-free" and test it on a scrap first.
Finish and display: once everything is dry, you can brush one thin coat of gel medium over the papers to coat them evenly. Oil pastel stays soft, because its binder never dries completely. Sennelier, which makes oil pastels, sells an oil pastel fixative that "protects the Oil Pastels". Use a fixative made for oil pastel and follow its label, or keep the piece in a sleeve until it is framed. For a paper piece, a frame with a mat and glass is the simple answer: the mat keeps the surface off the glass. If the piece has no oil pastel on it, you can varnish it instead. Liquitex's collaging tips say "for best results, always varnish your collage once finished". Use a brush-on acrylic varnish and follow its label. Hang it out of direct sun.
If a mixed-media piece is old or valuable and something is lifting or yellowing, do not experiment on it. Ask a paper conservator.
Where to go next in mixed media
Collage is the next step. Our collage art guide goes deeper into composing with paper, choosing a glue for each paper type and using images you have the right to use.
For your next small exercise, make the window card again, but limit yourself to one color of paint plus white, and three papers in black, white and one accent. Fewer materials make the layer order easier to see, and that is the skill everything else builds on.