Collage Art for Beginners: Paper, Glue, Composition and a First Project
Collage art is a picture made by gluing pieces of paper and other flat materials onto a backing. Which glue suits which paper, when to cut and when to tear, how to plan the layout before gluing, a first torn-paper project, fixes for wrinkles, and which found images you may use.
By Lionel Rutledge ·
On this page
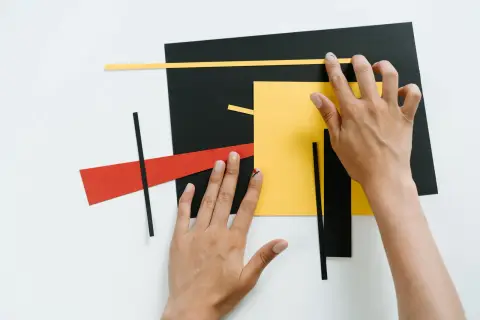
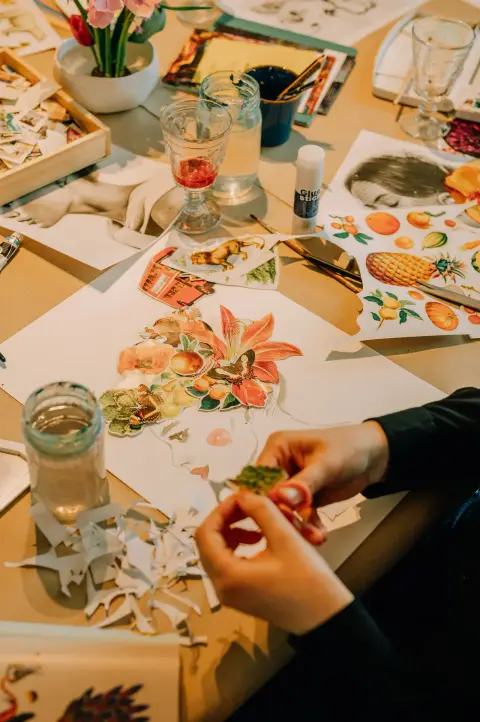
Collage art is a picture made by gluing pieces of paper, and sometimes fabric or photos, onto a backing. To start you need a heavy sheet, a pile of papers you are allowed to use and one wet glue, such as acrylic gel medium. Plan the layout dry, glue from the back layer forward, and press the piece flat while it dries.
Tate puts it simply: "Collage describes both the technique and the resulting work of art." The word comes from the French for "to glue", as The Art Story explains. The same source dates collage as a fine-art technique to 1912, with Picasso's Still Life with Chair Caning and Braque's Fruit Dish and Glass. The Met, which owns the Braque, says that according to the artist it was his first papier collé (pasted paper), made in September 1912.
Four related techniques often come up, and this page covers the first:
Scroll sideways for all 2 columns.
| Type | What it is |
|---|---|
| Papier collé | Pasted paper: cut or torn papers glued flat onto a backing. The subject of this page |
| Photomontage | "A collage constructed from photographs", in Tate's words |
| Décollage | Tate translates the French word as "to unstick": artists made works from posters torn off city walls |
| Assemblage | Three-dimensional: art made "by assembling disparate elements – often everyday objects". Out of scope here |
A few artists are worth looking up once you start. Tate calls Kurt Schwitters' Merz "a nonsense word invented by the German dada artist Kurt Schwitters" for his collages and assemblages of scavenged scrap. The same museum's photomontage entry says the Dadaists first used the technique in 1915 and names John Heartfield. Henri Matisse, in his late sixties, "began to cut into painted paper with scissors"; Tate's 2014 exhibition of his cut-outs showed 120 works made between 1936 and 1954. In the US, SFMOMA lists collage among Romare Bearden's media and links his technique to "cubist collage, quilting, and jazz music".
Collage is one branch of our mixed media guide for beginners, which covers the layer order when paint and paper meet. This page stays with paper: glue, edges, layout, a first piece, and the rights to the pictures you cut up. For clay, crochet and the rest, see our other making guides.
What you need for a first collage
- A backing
- One sheet of heavy mixed-media paper or thin card, about 15 × 20 cm (6 × 8 in). Aim for about 300 g/m²; thin paper ripples under wet glue.
- Papers
- A shoebox of scraps. Your own painted or printed sheets, tissue paper, wrapping paper, envelopes with patterned linings, old drawings, magazine pages.
- One wet glue
- A small jar of matte gel medium. A glue stick is fine for practice sheets.
- Tools
- Small scissors, a flat brush about 2 cm wide, and an old plastic card or a small rubber roller (a brayer). Add masking tape, parchment (baking) paper, a heavy book and a damp cloth.
- Optional, for small exact shapes
- A craft knife and a self-healing cutting mat. Cut on the mat, cut away from your body with no part of your other hand in the blade's path, and retract or cap the blade right after each cut.
- A phone camera
- For the layout check before you glue.
Painting your own collage papers is the cheapest way to get colors nobody else has. Brush thin acrylic across a few sheets of printer paper, let them dry, and tear from those. Use acrylic rather than gouache for papers you will glue with gel: gouache re-wets with water, so wet glue can drag the color. A carved block from our linocut guide gives you printed papers too.
Skip for now: a collage "ephemera pack", spray adhesive, decorative scissors, a cutting machine and gold leaf. Collect before you buy. Junk mail alone could keep a beginner busy until spring.
Which glue for which paper
Use a fluid acrylic medium for thin papers, a gel medium for magazine pages and photos, and a glue stick only for practice. Avoid rubber cement and tape on anything you want to keep. The table is our guidance, built from the maker and collection-care sources linked below it.
Scroll sideways for all 4 columns.
| Adhesive | Best for | Wrinkle risk on thin paper | For a piece you want to keep |
|---|---|---|---|
| Glue stick | Quick sketchbook pages, kids' projects, planning | Low | Edges often lift over time; practice only |
| White PVA glue | Card, cardboard, heavier papers | High if used thick or watered down | Holds well, but hard to undo later |
| Fluid acrylic medium (matte or gloss) | Tissue, newspaper, thin printed papers | Medium: thin coats only | Good choice |
| Acrylic gel medium (soft gel, matte or gloss) | Magazine pages, photos, painted papers, mounting paper on panel | Medium: thin coats only | Our default |
| Craft glue-sealer (such as Mod Podge) | Decoupage, crafts, sealing a surface | Medium to high | Check the label for "acid-free", test a scrap |
| Rubber cement | Nothing you want to keep | Low | Avoid: yellows and stains |
| Double-sided tape, spray mount | Temporary layouts | None | Avoid on keepers |
The two acrylic rows come from the makers. Liquitex's collaging tips match Matte or Gloss Medium to "newspapers and finer papers", and Matte or Gloss Gel to photographs and magazine paper. Golden says "the value of Soft Gel Gloss as a collage medium cannot be overstated". It can mount paper onto a panel and "hold it to panel without saturating it". Matte or gloss is taste. If you plan to draw on top, test your pencil on a dried scrap of each first.
The "avoid" rows come from collection care. The University of Illinois publishes a Preservation Self-Assessment Program guide to adhesives. It counts rubber cement among the rubber adhesives. Those, it says, "will turn yellow or dark amber and will start to cause paper staining". It adds that "pressure-sensitive adhesives are not recommended for use on valuable materials", and that PVA is "not easily reversible". A glue stick is fine on a practice page. Do not use one on a piece you plan to frame.
Cut or tear?
Cut when you need a clean, exact shape, such as a window, a letter or a figure. Tear when you want a soft edge that blends, such as hills, clouds or water. Most good beginner collages use both: torn shapes for the background, a few cut shapes on top to pull the eye.
Torn edges behave differently in two directions. Machine-made paper has a grain. The Cornell University Library preservation tutorial explains that "the rotary action of the machine causes the fibers to be aligned in one direction". It also notes that "paper will always tear much more easily along the grain". Find the grain in five seconds: tear a small strip off the top and one off the side. The cleaner, straighter tear runs with the grain.
Two tearing tricks help:
- Change the tearing direction to change the edge. Torn one way, the edge shows a thin white core of paper on the front; torn the other way, it hides. Try both on a scrap and pick the look you want.
- For a soft, controlled line, draw it with a wet brush or a damp cotton swab, wait a few seconds, then pull the paper apart along the wet line.
How to plan a collage composition before you glue
Arrange everything dry, check it, and only then pick up the glue. Wet gel lets you nudge a piece into place, not rethink the picture. This five-step layout routine is our proposed method, and it works for any subject.
- Sort your papers by value. Make three piles: light, middle and dark. Ignore the color for now. Value, meaning how light or dark a paper is, does most of the work in a collage.
- Pick one focal point. Put the strongest contrast there, such as your darkest dark next to your lightest light, or the one bright color. Keep it off the exact center.
- Use three sizes. One big shape, a few medium ones and some small ones. Pieces that are all the same size look like a mosaic of stamps.
- Lay it out dry and take a photo. Then switch the photo to black and white in your phone's editor. If everything turns the same grey, swap a middle paper for a dark or a light one.
- Leave quiet space. A plain area around the focal point lets it breathe. Not every gap needs a scrap.
Glue in the same order as a painter paints: the back layer first, then the middle, then the front details. Pieces that overlap the edge of the backing can be trimmed at the very end.
First project: a three-value torn-paper landscape
You will make one small landscape, about 15 × 20 cm, with a sky, two hills and one small cut shape as the focal point. It uses six to ten papers and both kinds of edge. This is a proposed exercise, not a record of a piece we made. Do the layout and gluing in one sitting, then leave it under a book overnight.
On the table: the backing sheet, three piles of papers (light, middle, dark), gel medium, a flat brush, an old card or brayer and scissors. Next to them: masking tape, parchment paper, a heavy book and a damp cloth.
- Tape the backing. Tape the sheet flat on all four sides with masking tape. Check: the tape is pressed down along every edge.
- Tear the sky. Tear two or three light papers into wide bands. Lay them across the top two thirds, overlapping a little.
- Tear the hills. Tear one middle-value hill and one dark hill with a gentle curve along the top. Place the dark one in front, lower on the sheet, so it reads as closer.
- Cut the focal point. Cut one small, sharp shape from your brightest or darkest paper: a house, a tree, a sun or a boat. Place it where the hills meet, off center.
- Photo check. Take a phone photo of the dry layout and view it in black and white. Check: sky, far hill and near hill are three different greys, and the focal shape stands out. Swap papers until they do.
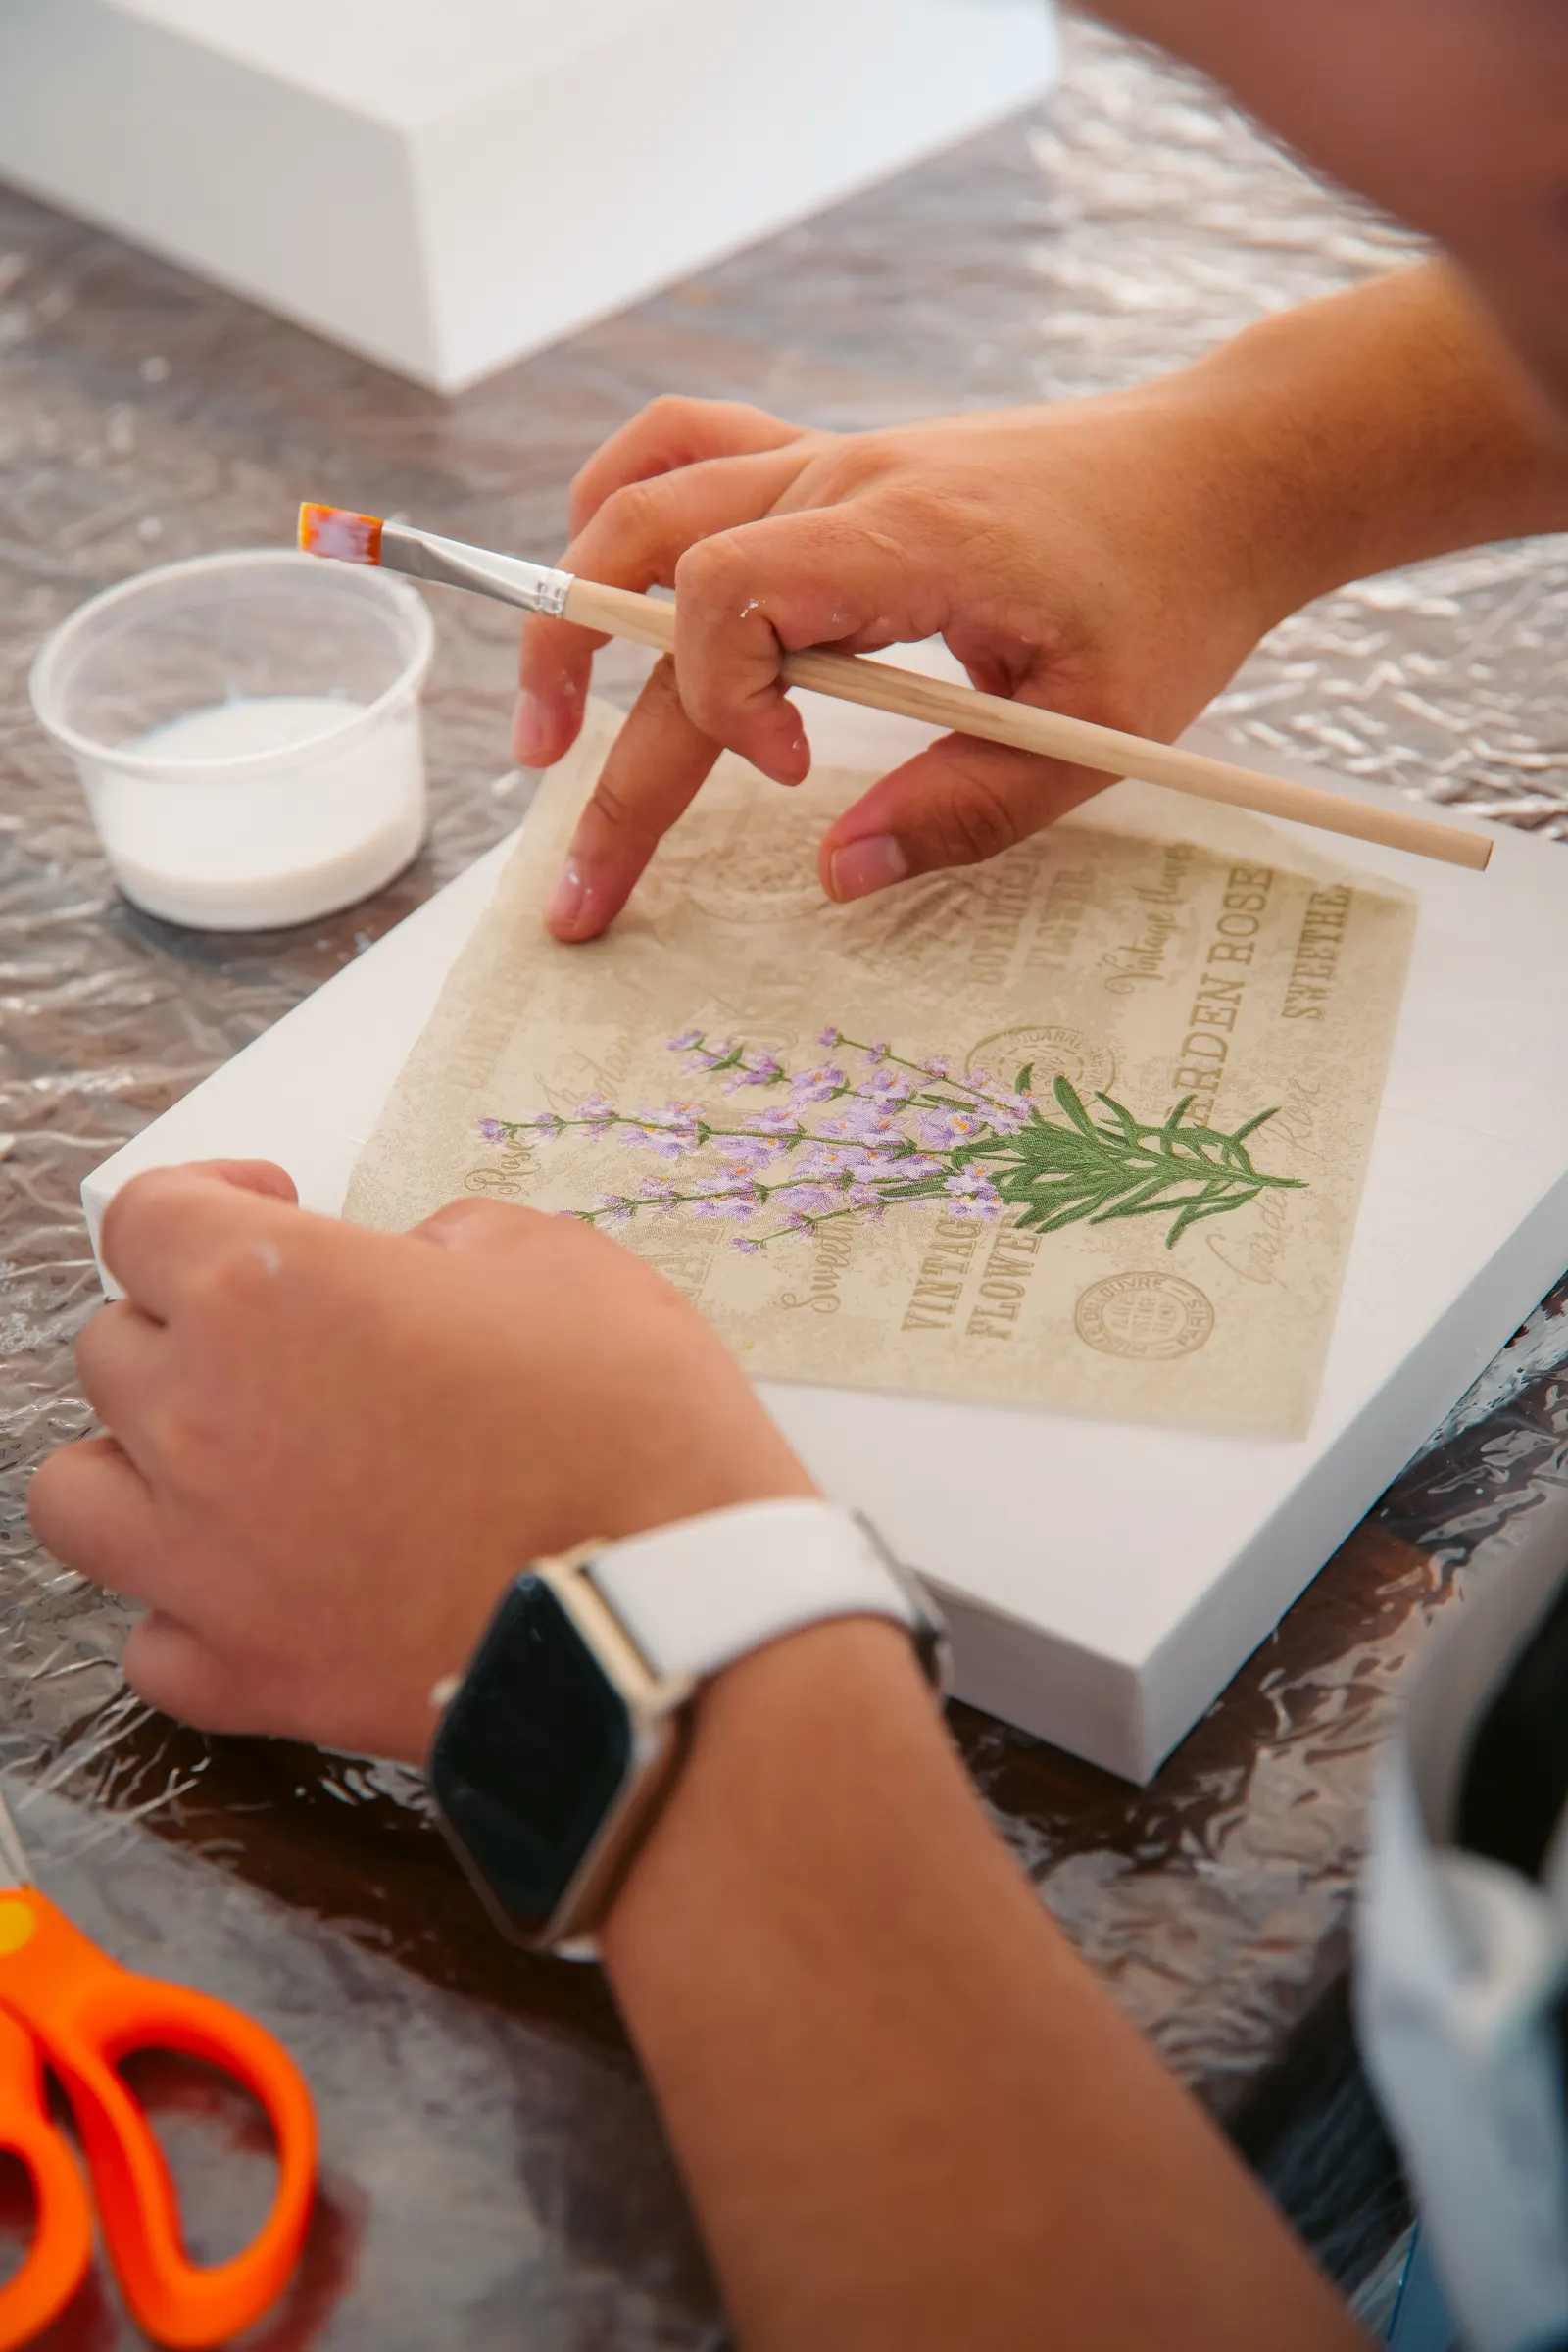
- Glue the sky. Lift one sky piece at a time. Brush a thin coat of gel on the backing where it goes and a thin coat on the back of the paper. Liquitex advises coating both, because it "doubles the adhesive power". Lay the paper down and smooth it from the middle out with the card or brayer.
- Stop and check for bubbles. Look at the sheet against the light from a low angle. Check: no bubbles and no lifted edges. Press out any you see now, while the gel is wet. Wipe gel off the card and your fingers with the damp cloth.
- Glue the hills, then the focal shape. Same method, back to front: far hill, near hill, then the cut shape.
- Seal the top (optional). Brush one thin coat of gel over the whole surface. It evens out the sheen and holds every edge down.
- Press it flat. Lay parchment paper over the collage, then the heavy book. Leave it overnight. Peel the tape off slowly at a low angle the next day.
What "good" looks like: flat papers, no shiny gel puddles, three clear values, and an eye that goes straight to the small cut shape. If the colors look a bit dull under the matte gel, that is normal.
Why your collage paper wrinkles, bubbles or lifts
Most collage problems come from too much water in the glue. Wet paper swells, and the Cornell tutorial explains that paper "moistened with adhesive will stretch much more across the grain than along it". It then shrinks as it dries, and the stretched part becomes a ripple. Thin coats and pressing while it dries prevent most of it.
Scroll sideways for all 3 columns.
| Symptom | Likely cause | Fix |
|---|---|---|
| Long ripples running one way | Thin paper stretched across the grain under wet glue | Use less glue; smooth from the middle out; press under a book overnight. Next time, seal the paper with a thin coat of medium on both sides and let it dry before you glue it |
| Small bubbles under the paper | Air trapped, or glue on one surface only | Press from the middle to the edge while wet. A dry bubble can be slit with a craft knife, given a dab of gel and pressed flat |
| Corners and edges lift after drying | Too little glue at the edges, or a glue stick | Slide gel under the edge with a thin brush, press, dry under a book |
| Colors smear or bleed | Ink or paint that re-wets in water-based glue | Test a corner of each printed or painted paper with a wet brush first; skip papers that bleed |
| Shiny patches on a matte collage | Gel puddled on top | Brush out thinner; a final thin coat of matte gel over everything evens the sheen |
| Whole sheet curls | Light backing and a lot of wet glue | Tape the backing on all four sides; use a heavier backing next time |
The seal-first fix trades speed for flatness. Give each coated paper time to dry before you tear it and glue it down. It helps most with tissue and thin magazine pages.
Is collage art illegal? Magazine pictures and found images
No, collage as a technique is not illegal. Copyright gives owners control over copying, adapting, distributing and publicly showing their work, so the question is whose pictures you use and what you do with the finished piece. Cutting up magazines is how many people practice at home, but most printed and online pictures are likely to be protected by copyright. Copying, posting or selling a collage that uses them can need the owner's permission. This section sets out what the US Copyright Office and the UK Intellectual Property Office say in general. It is not legal advice for a specific piece.
Copyright starts on its own. The US Copyright Office says a work "is under copyright protection the moment it is created and fixed in a tangible form". The UK Intellectual Property Office says "the vast majority of images on the internet are likely to be protected by copyright". It adds that "the copyright symbol does not have to be present for copyright to exist". In the UK, the IPO says copyright in an image generally lasts for the creator's life plus 70 years from the end of the year of their death.
The rights that matter for a collage are listed in US law. 17 U.S.C. § 106 gives the owner the rights to reproduce the work, "to prepare derivative works", to distribute copies and to display it publicly. Scanning a finished collage, printing it on cards or posting it online makes new copies of every picture in it.
Changing a picture does not make it yours. The Copyright Office FAQ is blunt: "you cannot claim copyright to another's work, no matter how much you change it, unless you have the owner's consent". Fair use exists, but courts weigh it "on a case-by-case basis". The same FAQ adds that "there are no legal rules permitting the use of a specific number of words, a certain number of musical notes, or percentage of a work". In the UK, the IPO notes that "copying a 'substantial' part of a work will also infringe". Some adaptations may still fall under the exceptions for "parody, caricature or pastiche".
Image-rights checklist before you share or sell a collage:
- Your own material (your photos, drawings, painted and printed papers): fine, it is yours.
- Plain papers (tissue, colored paper, plain wrapping paper): fine, there is no picture to protect.
- Patterned papers (printed wrapping paper, patterned envelope linings, decorative or scrapbook paper): the print is someone's design. Fine for practice; once the collage leaves your table, treat a large, recognizable piece of the pattern like a magazine image below.
- Public domain or CC0 images: fine, if the source says so. The Library of Congress Free to Use and Reuse sets offer "more than 100 sets of rights-free images" for your own projects. A CC0 dedication means the creator or rightsholder chose "to waive all copyright and related rights" in the work, to the fullest extent the law allows.
- Images with a license: fine within its terms. Read what the license allows, such as commercial use or changes.
- Magazine, book, web or advertising images: our safe default is practice only, unless you have permission. Fair use in the US or an exception in the UK may cover some uses, but nobody can promise that in advance. If the collage leaves your table, swap them for your own papers or ask the owner. On using parts of someone else's work without permission, the Copyright Office FAQ says: "in cases of doubt, the Copyright Office recommends that permission be obtained."
The practical answer is to make your own papers. A sheet you painted yourself or a stack of lino prints gives you a collage nobody else can claim, and colors no magazine sells.
How to make a collage last
Choose stable papers and an acrylic glue, finish with a thin coat of gel or a varnish, and frame paper pieces behind glass, out of direct sun. Three habits cover most of it.
Keep newspaper for practice. The Canadian Conservation Institute says "newspaper is particularly unstable due to the large percentage of acidic ground wood pulp". Such paper is "susceptible to yellowing and embrittlement over time". Cornell's tutorial adds that "cheap ground wood paper is still manufactured for newsprint and other impermanent uses". For a keeper, use your own painted papers on good drawing paper, or papers labeled acid-free.
Glue with acrylic, not rubber or tape. Gel or fluid medium, as in the table above. Rubber cement and tape are both flagged in the collection-care guide.
Finish with gel, then frame. If you did step 9 of the project, its thin top coat of gel already seals the papers. For a piece on paper, a frame with a mat and glass is the simple answer, as in our mixed media guide: the mat keeps the surface off the glass. If you want to varnish instead, use a brush-on acrylic varnish and follow its label. Liquitex says "for best results, always varnish your collage once finished", to protect it from dirt and UV. Its page asks you to let the collage dry completely first, 3 to 7 days depending on how thick the paint and medium are.
If an old collage, family scrapbook or valuable piece is yellowing or lifting, do not experiment on it. Ask a paper conservator.
Four more collage ideas for beginners
Each idea uses the same kit and trains one skill. All four are proposed exercises.
- One color plus black and white: papers in a single color, from pale to dark. Trains value without the distraction of color.
- Your initial in torn paper: one big letter torn, not cut, from three papers. Trains edges and the grain test.
- A still life from painted papers: a cup, a pear and a bowl cut from sheets you painted. Trains cut shapes and overlap.
- A map of a walk: your own photos, a ticket and torn paper streets on one page. Trains layout with mixed sizes, using material you collected yourself.
A next small exercise
Make the landscape again with only three papers: one light, one middle, one dark, all painted by you. With no pattern or picture to lean on, value and edges carry the whole piece, and that is the skill every collage builds on. When paper alone feels easy, add paint and drawing on top, in the layer order from the mixed media guide linked at the top of this page.