Pottery for Beginners: Hand-Building or Wheel, Which Clay, Where to Fire
Start with hand-building and a bag of the clay your nearest kiln accepts. You need no wheel and no kiln of your own. Costs, clay types, firing options and the two safety rules that matter.
By Lionel Rutledge ·
On this page
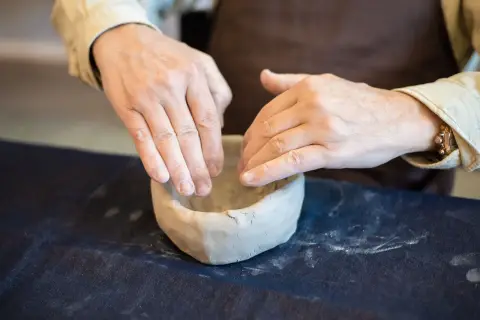
Start with hand-building and one bag of the clay your nearest kiln accepts. You do not need a wheel or a kiln of your own. Settle one thing before you buy anything: where your pots will be fired. That decides which clay you can use.
Pottery means shaping clay, letting it dry, and firing it in a kiln until it turns hard and permanent. Most beginners shape at a table, then pay a studio or a firing service to fire the work. This guide covers that route, what it costs, and the safety points that matter: clay dust, clay water in the sink, and what you can safely eat from. It sits with our other beginner guides to making things by hand.
Hand-building or the wheel: which should you start with?
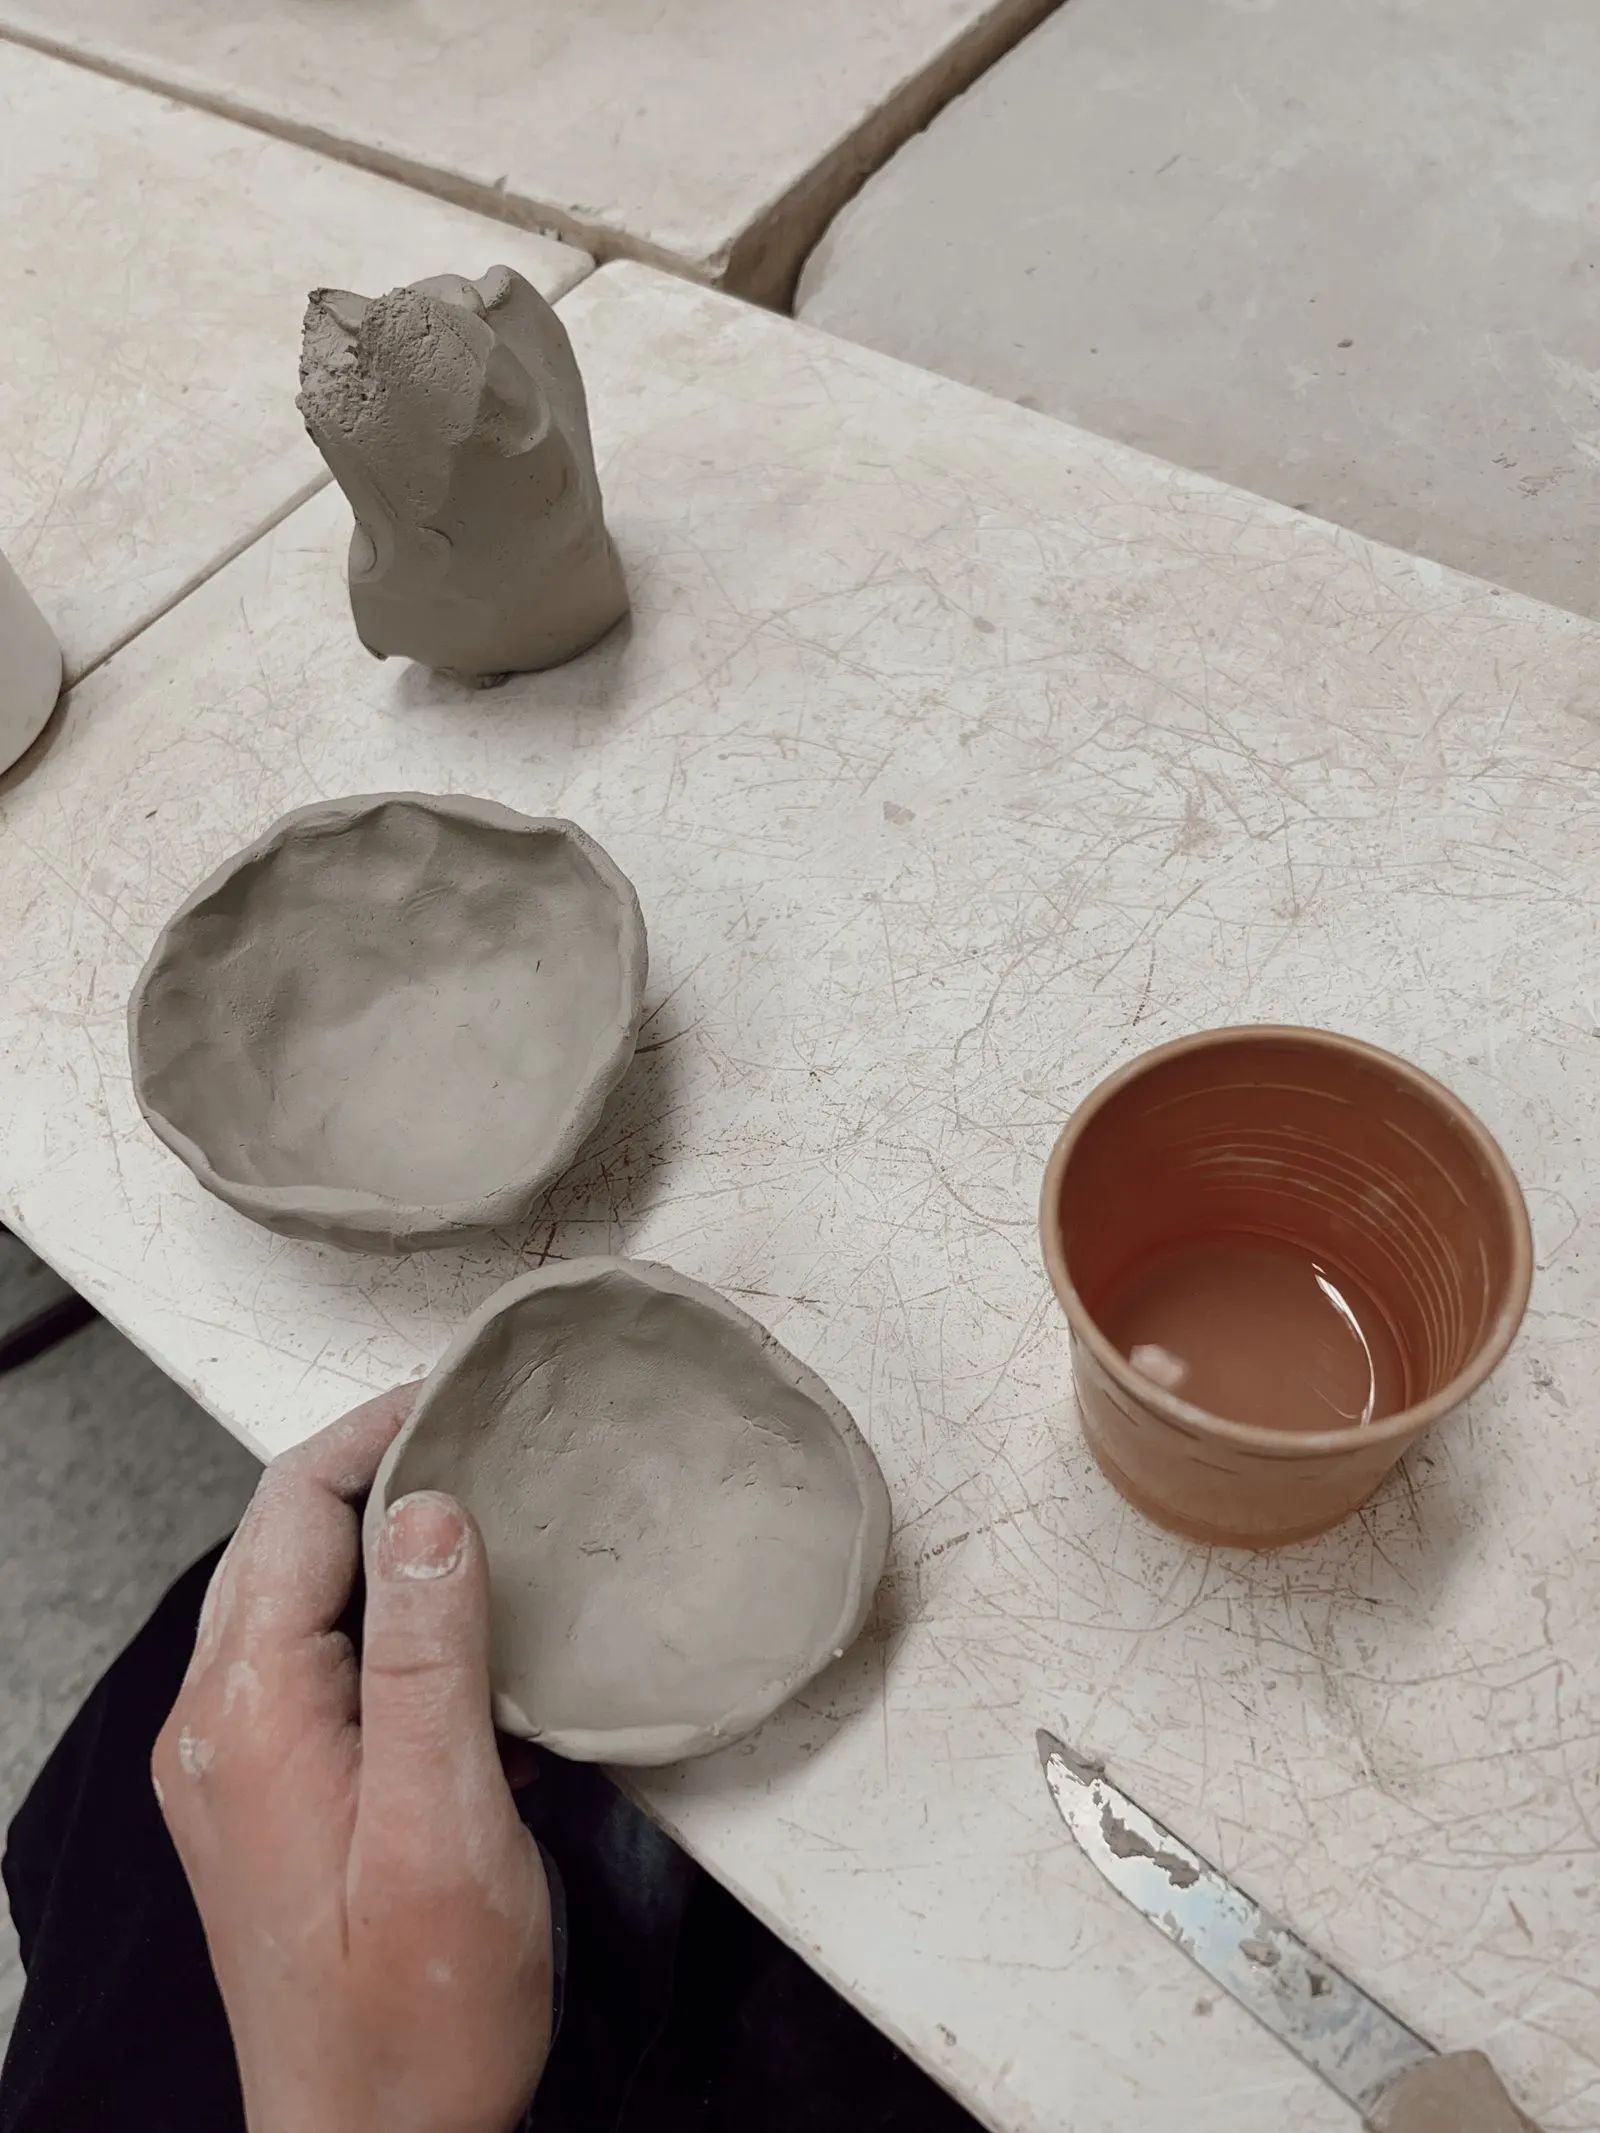
Hand-building first, unless a class with wheels is easy to reach. Hand-building needs only your hands, a few cheap tools and a table. Wheel throwing needs a wheel, and you first have to learn centering: getting the spinning clay to run true before you can shape it.
Scroll sideways for all 4 columns.
| Hand-building | Wheel throwing | Air-dry clay | |
|---|---|---|---|
| What you shape with | Hands, a rolling pin, a knife, a sponge | A potter's wheel plus hand tools | Hands and simple tools |
| Typical first pieces | Pinch pots, coil pots, slab trays and mugs | Cylinders and small bowls | Dishes for rings, ornaments, plant labels |
| Learning curve | Gentle; you see progress in the first session | Steep at the start; centering comes first | Gentle |
| Needs a kiln | Yes, for real ceramics | Yes | No, it dries in air |
| Holds water or food | Only after firing and a food-safe glaze | Only after firing and a food-safe glaze | No |
| Where to learn | At home or in a class | Usually in a class or studio | At home |
My view: learn how clay behaves in your hands before you add a spinning wheel. Pinch, coil and slab teach you wall thickness, joins and drying. Those skills carry straight over to the wheel later. The three methods are walked through one by one in our hand-building guide.
Can you teach yourself pottery? My view: yes, for hand-building. Pinch, coil and slab work can be learned at home from good written or video lessons, as long as a firing service fires the results. The wheel is different. Centering is hard to judge alone, and a teacher who can put a hand on your clay saves a lot of frustration. Take at least a short wheel class.
Pick the wheel first if your goal is round, matching mugs and bowls, and a local class includes wheel time. Then you learn on a studio wheel and decide later whether you want one at home.
Which clay should you buy?
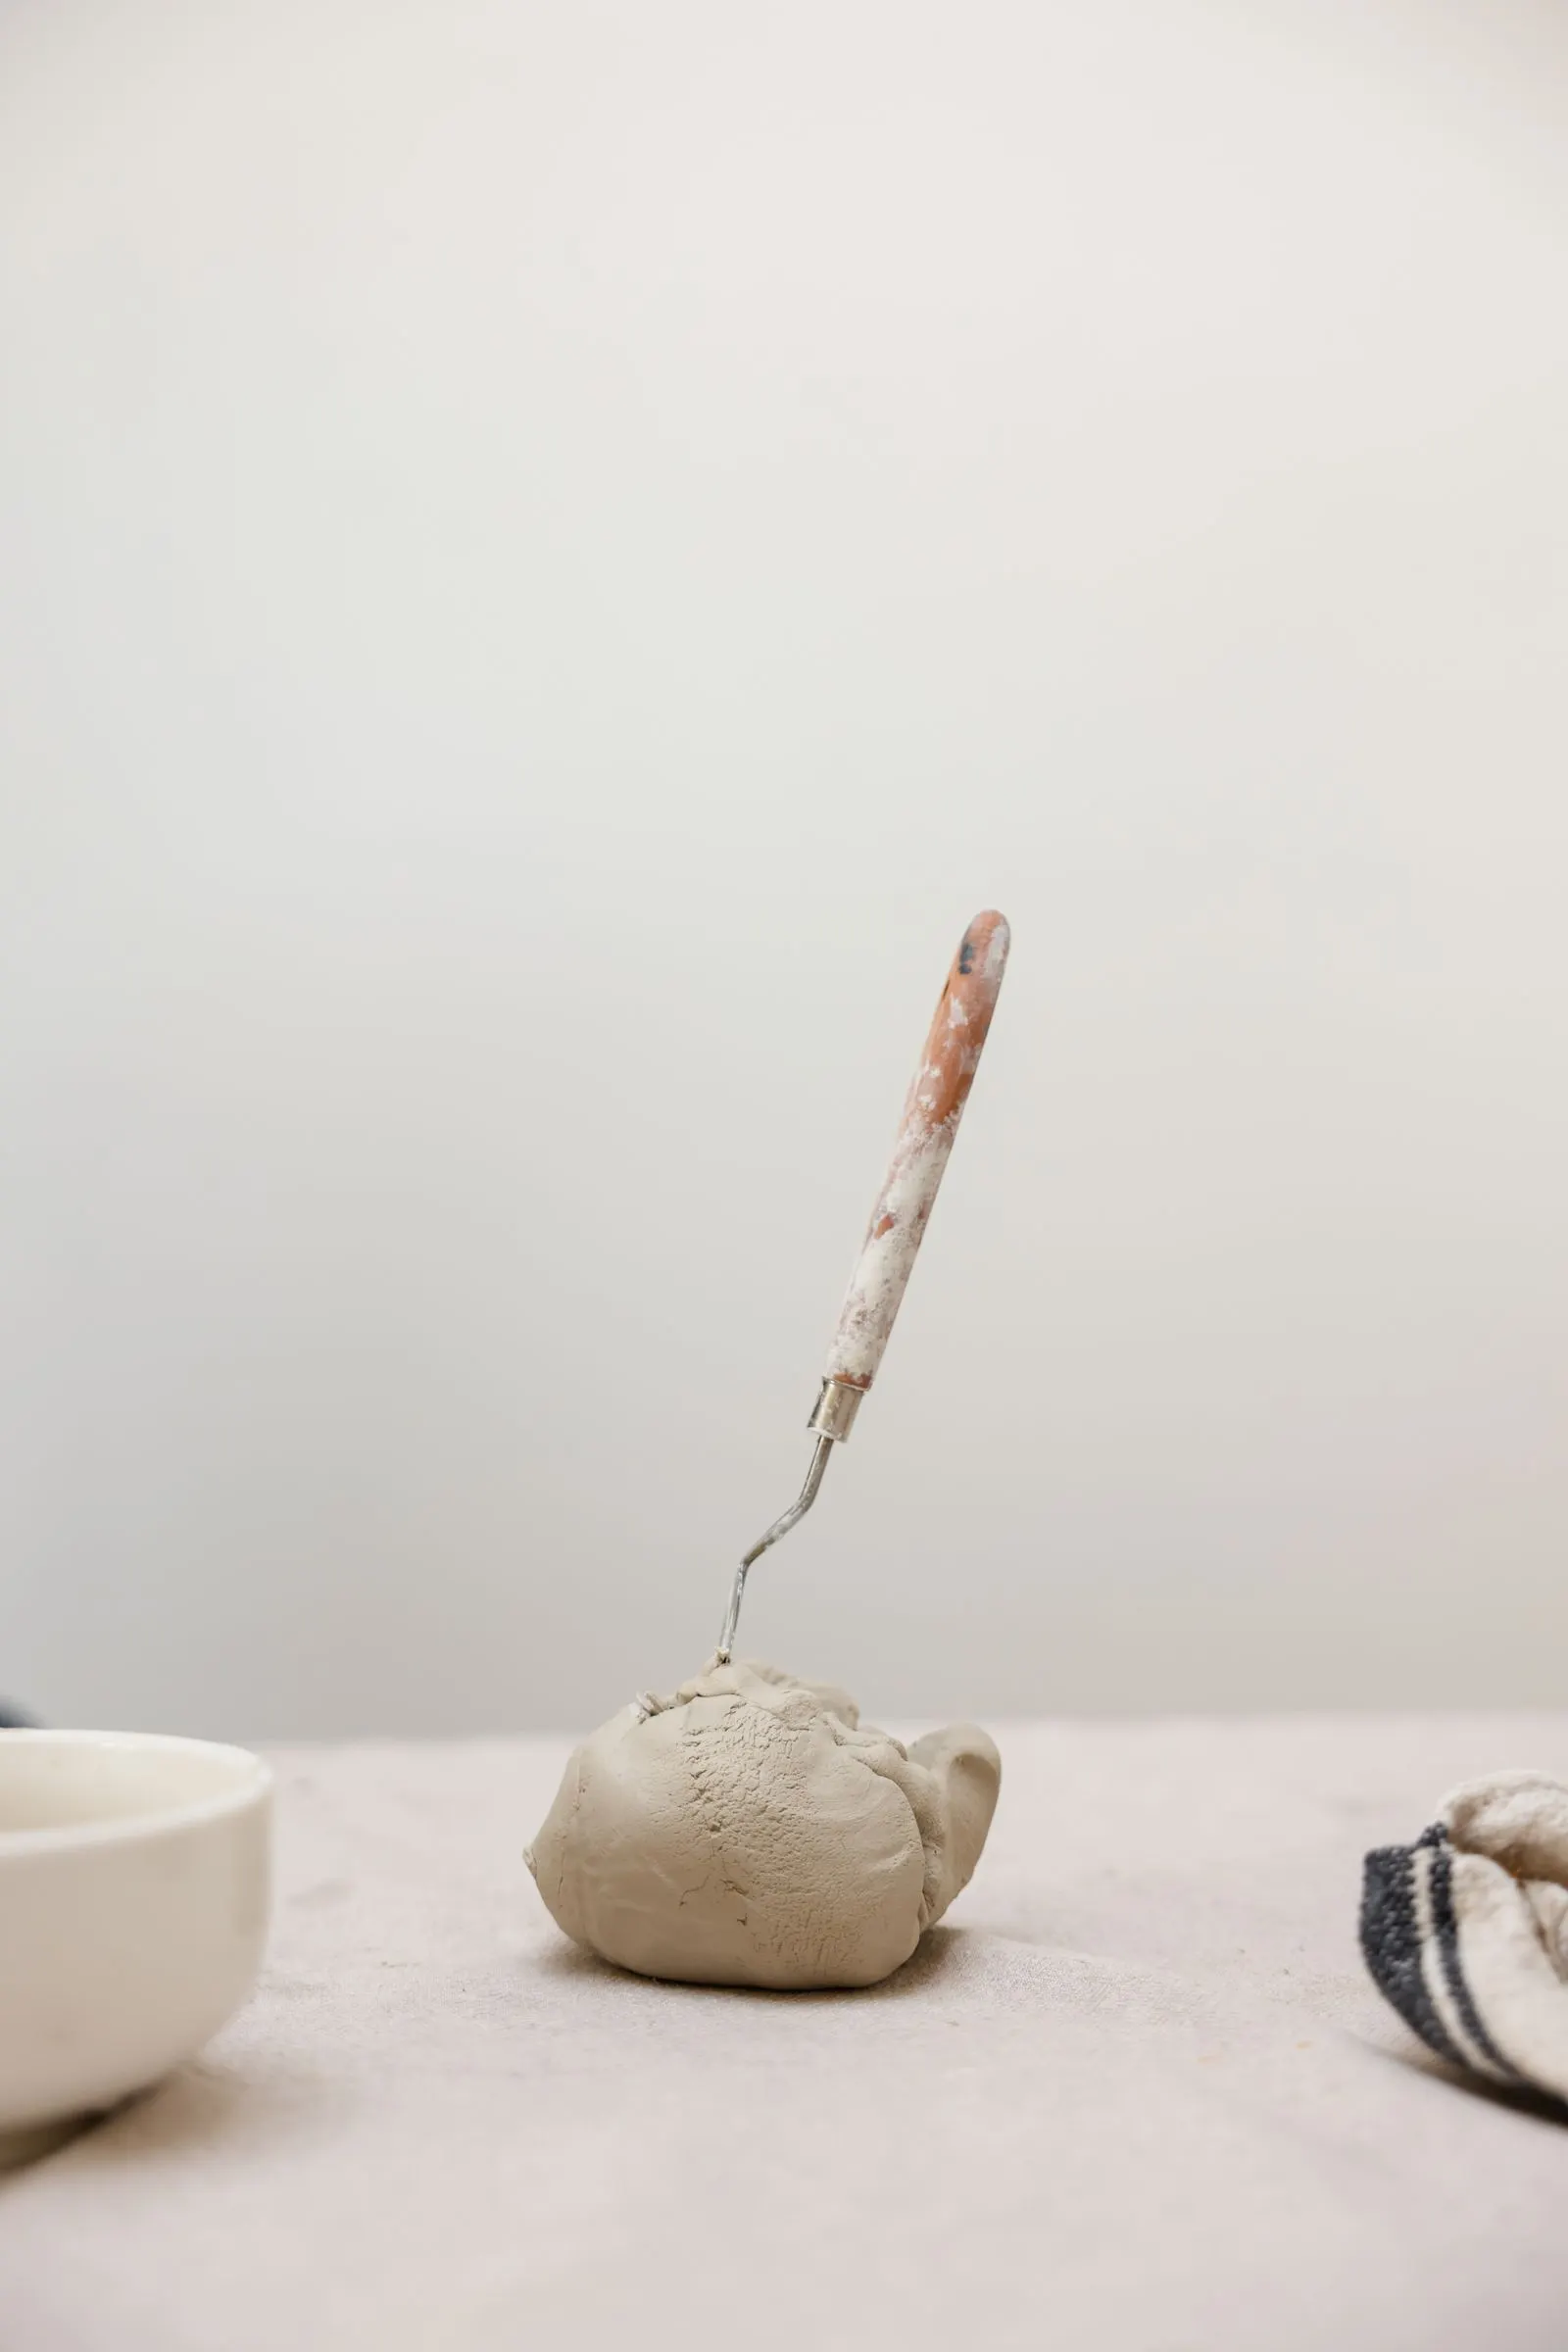
Buy the clay your kiln fires, not the clay that looks nicest online. Every clay body has a firing temperature where it matures, given as a "cone". A cone is a small ceramic pyramid that bends once it has taken a set amount of heat. So the same cone bends a little lower in a slow firing than in a fast one. Potters use cone numbers instead of degrees.
The zero in front matters. Cone 06 is a low firing. Cone 6 is a much hotter one. Orton makes these cones. Its chart lists cone 06 at 1828°F (998°C) and cone 6 at 2232°F (1222°C). Those figures are for its self-supporting cones, heated at 108°F (60°C) an hour near the end of the firing.
Scroll sideways for all 5 columns.
| Clay | Fires at | Maker data, one example | Good for | The catch |
|---|---|---|---|---|
| Earthenware (low fire) | Cone 06–04, about 1828–1945°F (998–1063°C) | Laguna White Earthenware EM100: cone 06, absorption 11.5% | Decorative pieces, planters, bright glazes | Stays porous; needs a sound glaze to hold liquid |
| Mid-fire stoneware | Cone 5–6, about 2167–2232°F (1186–1222°C) | Laguna B-Mix 5: cone 5, absorption 2.3% | Mugs, bowls, everyday pieces | Needs a kiln that reaches mid-fire |
| High-fire stoneware and porcelain | Up to cone 10, about 2345°F (1285°C) | Body-specific; check the bag | Studios with gas or high-fire kilns | My view: porcelain is the least forgiving first bag |
| Air-dry clay | No firing | Crayola Air-Dry Clay: dry after about 72 hours | Practice and decoration | Not waterproof, even sealed |
Temperatures in the table are Orton's figures for the cones named. "Absorption" is how much water a fired piece soaks up, as a share of its weight. Clay-King calls Laguna EM100 "an ideal clay for schools and beginners". It fires to cone 06 with 11.5% absorption. Laguna's own page lists B-Mix 5 at cone 5 with 2.3% water absorption. That gap is why earthenware needs its glaze to do the waterproofing.
My pick for most beginners: a smooth mid-fire stoneware, if your studio or firing service fires cone 5–6. Worcester Craft Center and Clay-King, both quoted below, fire cone 6. Choose earthenware only if your only kiln access is low fire.
Stop here and check before you buy clay. Ask the studio or firing service five things:
- Which cone do you fire, for bisque and for glaze?
- Can I bring my own clay, and which bodies do you accept?
- Do you fire both rounds, the bisque and the glaze firing?
- How long do I wait for my pieces?
- Do you provide glazes, and which ones are food safe and recommended for food surfaces?
Question 2 is not a formality. Clay-King's firing service says in plain words: "No mystery clay." The kiln owner has to know what goes into the kiln, so keep the label from your clay bag.
Air-dry clay or kiln clay?
Air-dry clay is for practice and decoration, never for cups or plates. Kiln clay is for anything that has to hold water or food. Air-dry clay hardens as it dries. It never turns into ceramic.
Crayola says its air-dry clay takes "24 hours to dry to the touch and 72 hours to dry completely". It can be varnished after that, but the maker is clear: "Sealing your work will not waterproof it." Crayola recommends keeping pieces indoors.
A kitchen oven does not replace a kiln either. Even the lowest firing in the table, cone 06, means about 998°C (1828°F) by Orton's chart.
Air-dry clay is still a good first step if you have no kiln access yet. You practice pinching, joining and smoothing with nothing to fire.
How does clay change before it is fired?
Clay goes through set stages, and each one allows different work. The rule that matters most: only bone-dry work goes into the kiln.
Scroll sideways for all 3 columns.
| Stage | What it feels like | What you can still do |
|---|---|---|
| Wet (plastic) | Soft, bends and holds a new shape | Pinch, coil, roll slabs, reshape |
| Leather-hard | Firm, cool, still slightly damp | Join pieces, trim, carve, smooth with a damp sponge |
| Bone-dry (last greenware stage) | Pale, room temperature, no damp feel | Only handle gently and fire; it breaks easily |
| Bisque | Fired once, hard, porous | Glaze it |
| Glazed | Fired a second time, glaze melted on | Finished |
Cerritos College's beginning ceramics notes put the key points plainly. In their words, leather-hard is "the last stage at which clay can be joined together". Bone-dry clay, they say, "is ready for the first firing". The same page warns that moisture left in the clay can form steam, "which may cause the clay form to blow up". It also notes: "Bone dry is only as dry as the atmosphere". Thick pieces need extra drying time.
Join parts while they are still leather-hard. Scratch both surfaces, add a little slip (clay thinned with water) and press them together. This is called scoring and slipping, and the hand-building guide shows it step by step. You will also hear about wedging, a kind of kneading that evens out the clay before use.
Dry slowly and evenly, under a loose sheet of plastic at first. Bisque firing changes the clay for good: Cerritos notes it "cannot be made plastic again". Until then, dry scraps can be soaked back into usable clay.
Where do you fire your pots without a kiln?
You have three options: a class that includes firing, a studio membership, or a firing service that fires work you made at home. All three avoid buying a kiln. Pottery is usually fired twice. The first, the bisque firing, hardens the bone-dry clay. The second, the glaze firing, melts the glaze onto it. Clay-King's service, for example, does not accept work for a single firing.
A beginner class. The Memorial Art Gallery in Rochester listed a 6-week wheel course for $300 in summer 2026. Its listing says "Clay will be provided for students. Glazes and firing are also included in the class price." Clay Art Center lists its fall 2026 beginner wheel and hand-building classes at $330 for 6 weeks. Its page does not say whether clay and firing are included, so ask.
A studio membership. This suits you once you can work without a teacher. Worcester Craft Center charges new members $185 a month, with clay and firing at student rates. Staff do all firings at cone 6 oxidation or cone 10 reduction. Members must be able to work independently. Still Life Studio in Richmond, Virginia, has tiers from $125 a month. There "bisque firing is always free", and glaze firing costs 4 cents per cubic inch.
A firing service. You hand-build at home and drop off finished, bone-dry work. Clay-King's published firing prices are a useful benchmark:
Scroll sideways for all 3 columns.
| Kiln (Clay-King, Spartanburg SC) | Cone 04 | Cone 6 |
|---|---|---|
| Small, 2.67 cu ft: half kiln / full kiln | $20 / $30 | $30 / $45 |
| Medium, 6.7 cu ft: full shelf / half kiln / full kiln | $15 / $35 / $60 | $20 / $40 / $75 |
| Large, 13.7 cu ft: full shelf / half kiln / full kiln | $20 / $50 / $85 | $25 / $65 / $120 |
The same page sets a minimum two-week lead time, "No single firing" and "No glaze on the bottom". Glaze that runs onto a shelf costs $15 a shelf. Other services will differ, so use this as a sense of scale.
Worked example: firing one mug by the cubic inch. Some studios, Still Life among them, charge glaze firing by volume. Say a studio measures the box your piece fits in: width × depth × height. A mug 3.5 inches wide with its handle, 3.5 inches deep and 4 inches tall takes 3.5 × 3.5 × 4 = 49 cubic inches. At Still Life's 4 cents per cubic inch, that is $1.96 for the glaze firing. Ask how your studio measures before you budget, and whether it rounds up or adds a minimum charge.
What does it cost to start pottery?
A first class costs about $300–385. Hand-building at home starts around $33 for clay, plus tools and firing fees. An own wheel and kiln start around $2,500 together. The prices below are single listings from one retailer and four studios, as listed on 13 Nov 2026. They are in US dollars before tax and shipping; Still Life says its prices include tax. Several were sale prices.
Scroll sideways for all 3 columns.
| Way to start | What you pay for | Price as listed |
|---|---|---|
| A. Beginner class | 6–7 weeks of teaching, sometimes with clay, glaze and firing | $300 for 6 weeks (MAG, summer 2026, clay, glazes, firing included); $330 for 6 weeks or $385 for 7 weeks (Clay Art Center) |
| B. Hand-build at home, fire elsewhere | 25 lb of clay | about $32.50 (Laguna EM100 or B-Mix 5 at $1.30 a pound, sold in 25 lb lots) |
| Firing | $15 a shelf at cone 04 or $20 at cone 6, $45 for a small full kiln at cone 6 (Clay-King); or 4 cents per cubic inch for glaze firing (Still Life) | |
| Starter tools | $32.12 (Kemper PTK 8-piece kit: ribs, needle tool, wire tool, sponge, trimming tools, wooden knife) | |
| C. Studio membership | Open studio time; clay and firing often extra | from $125 a month (Still Life) to $185 a month (Worcester Craft Center) |
| D. Own equipment | Tabletop wheel | $599.95 (Speedball Artista package) to $619.98–699.98 (Shimpo Aspire) |
| Full-size wheel | $1,829.95 (Shimpo VL Whisper 1/2 HP) | |
| Small electric kiln | $1,919 (Cress E18, 2.6 cu ft, 208 or 220 V) |
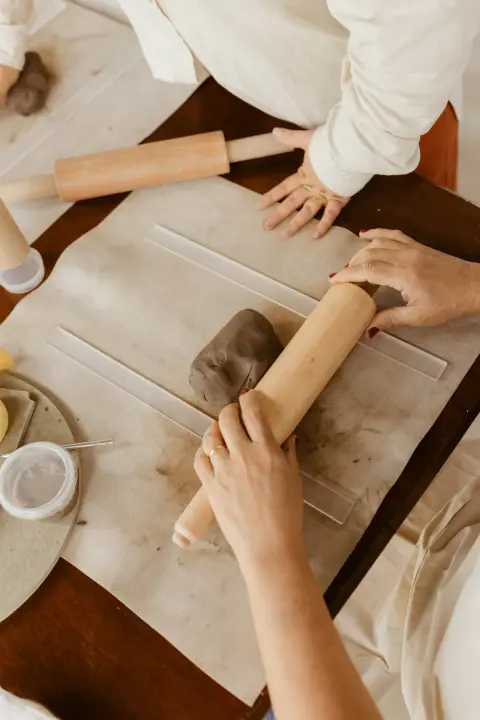
For route B you also need a few tools. A rolling pin, a sponge and a sheet of canvas or cotton to work on can come from home. Three are worth buying. A needle tool cuts and checks wall thickness. A wire cutter slices clay off the block. A rib, a flat curved scraper, smooths the surface. A basic kit covers all three. Clay-King listed the Kemper PTK 8-piece kit at $32.12 on 13 Nov 2026, a sale price. It holds two ribs, two trimming tools, a sponge, a wire tool, a needle tool and a wooden knife.
Don't buy yet: a wheel, a kiln or a big glaze set. A kiln also needs the right electrical supply. The Cress E18 above, for example, is sold in 208 V and 220 V versions. A wheel bought in week one can easily become the most expensive clothes rack in the house. Wait until you have made a dozen pieces and know which way you want to go.
Clay dust and clay water: the two risks at a home table
Dry clay dust is the health hazard; clay water is the plumbing hazard. Clay and glazes contain crystalline silica, and breathing its fine dust over time can damage your lungs. Keep dust down by working and cleaning wet. Keep clay and glaze water out of the sink.
The UK Health and Safety Executive's ceramics sheets are written for workplaces, but the dust is the same at home. HSE puts the silica content of ball clay at 15% to 30%. Slip, glazes and colors hold 10% to 60% of their dry weight. It warns that the respirable dust "is very fine and invisible under normal lighting" and "can get deep into the lungs". Inhaling it can lead to silicosis, which HSE calls "a serious and irreversible lung disease". The same sheet notes that dust stirred up again from surfaces and clothing "is a significant source of exposure even after the task has been completed".
What that means at a kitchen table:
- Clean wet. HSE's advice is to "Vacuum dry dust or use wet cleaning methods", with a vacuum of at least dust Class M. It also says to avoid brushes or compressed air on surfaces. At home, wet-wipe tables and floors with a damp cloth or mop. Never sweep dry clay crumbs or dust.
- Smooth while damp. Scraping and sanding dry pieces raises dust. HSE's sheet on dry fettling, the dry trimming and smoothing of unfired pieces, says it "can create high levels of dust". Do your smoothing with a damp sponge before the piece dries out.
- Keep clay clothes for clay. Wear an apron or old clothes that you can wash, and do not shake them out indoors.
- Wash your hands before eating, drinking or smoking, as HSE's sheets advise.
- Keep food off the work table. Work on a canvas sheet or a board you use only for clay.
- Never pour clay or glaze water down the sink. Clay settles in pipes and sets. The wastewater plant serving Palo Alto, California, tells art studios "not to pour clay particles, wet cement, or hot wax down the drain". These materials "become solids when they eventually harden" and can "clog sewer pipes and cause sewage backups". Its advice is to let them harden and dispose of them as solid waste. The same sheet notes that "glazes and stains commonly include toxic metals".
The simple home routine: rinse hands, tools and sponges in a bucket of water, not under the tap. Leave the bucket overnight so the clay sinks. Reuse the clear water on top for the next rinse. Let the sludge at the bottom dry out and put it in the trash if it is only clay. Glaze waste is different. The Palo Alto sheet says pottery with lead, cadmium or barium glaze must go as hazardous waste. Check your own city's rules before binning glaze sludge.
Can you eat and drink from pottery you make?
Yes, if three things line up. The clay is kiln clay fired to its cone. The glaze is sold as food safe, recommended by its maker for food surfaces, and fired at its stated cone. The surface stays sound in use. Air-dry clay and unglazed, low-fired earthenware do not qualify by this rule. Our guide to ceramic glazes goes deeper; here are the basics.
"Food safe" and "non-toxic" are not the same promise. The US glaze maker AMACO separates three things:
- Food safe means "a finished, fired piece does not release lead & cadmium above strict legal limits". AMACO says all its glazes are tested for lead and cadmium release under the ASTM C738-94 test method.
- Dinnerware safe is about durability: a glaze "chemically durable enough to resist scratching". AMACO adds that "customers have to test the final durability in your own studio", because it cannot test every clay and kiln.
- The AP seal "signifies the product is safe for all ages when used as intended". That is a statement about using the product as an art material, not about your soup bowl.
The difference shows on real products. AMACO's own CO-06 Supernova page asks whether the glaze is food safe. Its answer: "Yes, but due to durability, these glazes are not recommended for food surfaces". AMACO also says its underglazes are not for food contact unless covered with a tested glaze.
Firing matters as much as the glaze. The US Food and Drug Administration explains that earthenware is "a porous form of clay which must be glazed in order for the pottery to hold food or liquid". Fired correctly, "essentially all the lead is bound into the glaze". If it is "not properly fired, the lead may not fuse" and can get into food. The FDA adds that "no amount of washing, boiling, or other process can remove lead from pottery". Home lead-test swab kits exist; if one shows leachable lead, the FDA strongly advises against using the piece for food or drink.
My rule for a first year: food goes only into pieces with a glaze its maker sells as food safe and recommends for food surfaces. The studio fires it at the glaze's stated cone. Keep experimental glazes, layered combinations and specialty glazes on the outside and on vases, as AMACO advises for its own specialty glazes.
Your first project: one pinch pot
Here is a suggested first exercise, not a tested lesson: make one small pinch pot from a ball of clay about the size of a tangerine. Push your thumb into the center and pinch the wall thinner as you turn the ball, working from the bottom up. Aim for walls of even thickness, and check that the base has not stayed much thicker than the rim.
Let it dry slowly under a loose sheet of plastic, then take it to your firing service with the clay label. That one pot shows you the whole cycle: shaping, drying, bisque, glaze and the wait in between. The next steps, coil and slab, are in the hand-building guide.