Drawing for Beginners: An 8-Week Plan With a Self-Check
A pencil, cheap paper and 15 minutes a day are enough. Eight weeks of small exercises in a set order, each with a test you can see on the page.
By Lionel Rutledge ·
On this page
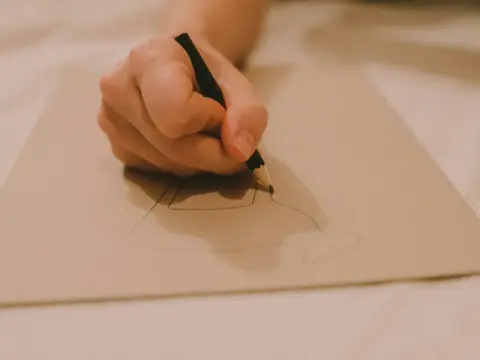
You can learn to draw with one pencil, cheap paper and 15 minutes a day. The plan below takes eight weeks and trains four skills in a fixed order: line, shape, proportion, then light and dark. Each week ends with a test you can check on the page yourself.
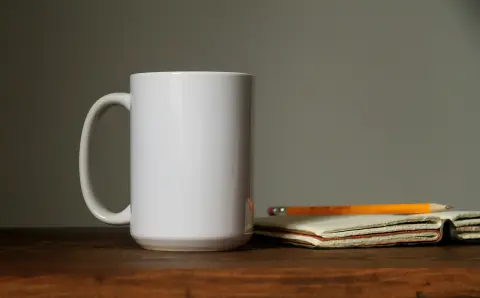
Talent is not the entry ticket. Drawing is mostly careful looking plus a lot of small marks, and both get better with practice. The first thing to draw is something plain on your own table, like a mug. Draw real objects first. A photo is fine when your subject will not sit still, and drawing from imagination can wait until after week 8.
What do you need on the table?
A pencil, plain paper, an eraser and a sharpener. That list covers all eight weeks.
On the table Scroll sideways for all 2 columns.
| Item | Why this one |
|---|---|
| 1 HB pencil and 1 soft pencil, such as a 2B | HB sits between the soft B grades and the hard H grades. B pencils are softer and darker, so light and dark show more clearly. |
| Plain printer paper or a cheap sketchbook | You will use a lot of it. Practice belongs on paper you do not mind wasting. |
| 1 eraser | For correcting light lines, not for scrubbing out whole drawings. |
| A sharpener | Safer than a craft knife while your hands are still learning. |
| A spare sheet | Rest your drawing hand on it so the graphite does not smudge. |
Pencil letters are simple once you know the code. Faber-Castell classifies graphite pencils as soft black (B), hard (H), hard black (HB) and firm (F). It adds that "the higher the number the higher the intensity". So a 6B is softer and darker than a 2B. The same page lists 19 degrees in its own range, from 14B to 6H. That is one maker's scale, and a 2B from another brand can feel a little different. Scribble each pencil on scrap paper and see.
My pick for week 1: start with the 2B. HB is fine for light construction lines, but the softer pencil makes the difference between light and dark easier to see.
Don't buy yet: a 24-pencil tin, blending stumps, fixative spray or heavy drawing paper. A big set is a lovely way to put off drawing for another week. No ruler either: the plan trains freehand lines. If you hit a real limit around week 6, buy the one thing that solves it.
A tablet works for the same plan. My advice is still to start with a pencil: there is no undo button and no settings to fiddle with, so you learn to look before you mark.

Which skills come first?
Four skills carry almost every drawing, and the order matters. Each one leans on the one before it.
The first hurdle comes before any of them. Many beginners draw the symbol they know for a thing instead of the shape in front of them. An eye becomes an almond, and a mug becomes a U with a handle. That is a common reason early drawings look childish, and it is not a talent problem. Every exercise below makes you look at edges, spaces and sizes instead of names.
Scroll sideways for all 3 columns.
| Skill | In plain words | Where the plan trains it |
|---|---|---|
| Line | Making the mark you meant: straight, curved, light or dark | Weeks 1–2 |
| Shape | Seeing an object as a box, cylinder or ball | Week 3 |
| Proportion | Judging how big one part is next to another | Week 4 |
| Light and dark | Using tone (degrees of light and shadow) to make a flat shape look solid | Weeks 5–6 |
Weeks 7 and 8 put all four together on subjects you choose.
The 8-week plan
Draw for about 15 minutes, five days a week if you can. The plan is the editorial desk's own design, written under the pen name Lionel Rutledge (how these guides are made). It is a sensible order, not a tested programme. Miss a day and simply carry on where you stopped. Open every session with 2–3 minutes of the week 1 marks as a warm-up.
Scroll sideways for all 4 columns.
| Week | Goal | The 15-minute session | Done when |
|---|---|---|---|
| 1 | Control your marks | Fill a page with straight lines, curves, circles and zigzags. Move your whole arm from the shoulder for long lines. Before each long line, ghost it: move the pencil just above the paper a few times, then let it touch down. Then shade one square from light to dark. | Your lines are smooth, and you can make a light, a medium and a dark tone on purpose. |
| 2 | Draw what you see | Blind contour drawings of your own hand or a mug (how-to below). Optional extra: copy a simple photo or line drawing turned upside down. | You have made 5 drawings without looking down, and you can tell what at least one of them shows. |
| 3 | See shapes | Draw 3 household objects as boxes, cylinders and balls. Light lines only. | Each object has a clear simple shape underneath it. |
| 4 | Judge proportion | Draw a mug and a bottle side by side, measuring with your pencil. | The height-to-width ratio of each object is close to the real one. |
| 5 | Add tone | Draw a ball lit by one lamp. Shade it in 5 steps from paper-white to your darkest dark. | The ball looks round, with a lit side, a shadow side and a shadow on the table. |
| 6 | Combine | A still life of 3 objects: shapes first, then proportion, then tone, details last. | The objects sit on the table instead of floating above it. |
| 7 | Add detail | Draw your own hand with the construction steps in how to draw hands. | The hand has a believable size and fingers you can count. |
| 8 | Choose your own | Pick a subject from the easy drawing ideas, then redo the week 1 page. | Your week 8 page looks clearly better than your week 1 page. |
Write the date on every page. Week 8 only works if you can lay the two pages side by side.
Two habits help the plan stick: the same time and place each day, and a timer. From week 6, add 5 minutes of quick sketches at 30 seconds to 2 minutes each. They are meant to be fast and messy, and they balance the slow exercises. Keep one page a week for anything you like, outside the plan. Drills are easier to keep up when drawing is also fun.
How do the three key exercises work?
Three exercises do most of the work: blind contour in week 2, pencil measuring in week 4 and the shaded ball in week 5.
Blind contour (week 2)
Look only at the edge of your subject and let the pencil follow your eye. Do not look down at the paper. Britannica describes contour drawing as transferring the edge of an object "in one continuous line to paper without looking down". It also notes that Kimon Nicolaïdes popularized it as a teaching method in The Natural Way to Draw (1941). Your result will look odd. That is expected: the exercise trains your eye and hand to move together, not to make a nice picture.
Optional: copy upside down. Turn a simple photo or line drawing upside down and copy it line by line. You cannot easily name the parts, so you copy the shapes you actually see. Betty Edwards, author of Drawing on the Right Side of the Brain (first published 1979), calls upside-down drawing a prime example of the rule behind her exercises. Her explanation is about the two halves of the brain. You do not need to accept that theory for the trick to help you see shapes.
Measuring with your pencil (week 4)
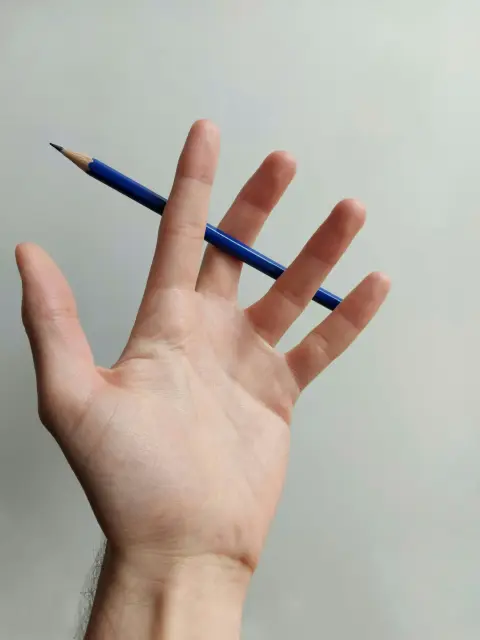
Hold the pencil at arm's length and line it up with one edge of the object. Mark the length with your thumb, then compare it with another part, such as the mug's width. The University of Delaware's drawing notes say: "Remember to measure from the same position and to keep your arm straight and elbow locked." Put the same ratio on paper. You get relative sizes, not exact ones, and relative is what a drawing needs.
For a second check, look at the empty shape between the mug's handle and its body. Edwards lists seeing these "negative spaces" among her five basic drawing skills. If that gap is the wrong shape, the handle is wrong too.
The five-step ball (week 5)
Draw a circle and light a real ball with one lamp from one side. Before you shade, answer the question the University of Delaware's value notes ask. "Where is light coming from and which planes face the light and which face away?" Keep the lit area as clean paper. Darken gradually toward the side facing away from the lamp.
Then add the shadow the ball throws on the table. It is tempting to put the darkest tone on the ball's shadow side. The same Delaware page says "the darkest dark in the drawing of the sphere occurs in the cast shadow", which is the shadow on the table. Press lightly and build up in layers, because removing a dark tone is much harder than adding one.
Stop here and check: are you improving?
Use this list twice: after week 4 tick only the Line, Shape and Proportion items (6 in total), and after week 8 tick all 8. Tick what is true today, not what you hope is true.
Line
Shape
Proportion
Light and dark
After week 4 (6 items). 5 or 6 ticks: go on to weeks 5 and 6. 3 or 4 ticks: repeat the weakest group for one more week. Fewer than 3: go back to week 1 and make the sessions shorter, not longer.
After week 8 (8 items). 6 or more ticks: you are ready for the next step below. 3 to 5 ticks: repeat the weakest group for a week. Fewer than 3: back to week 1. Slow progress is still progress.
What goes wrong early, and how do you fix it?
Most early problems have a handful of causes. Try the reversible fix first and keep the drawing.
Scroll sideways for all 4 columns.
| Symptom | Likely cause | First fix | Week that trains it |
|---|---|---|---|
| Objects look flat | Outlines only, no tone | Pick a light direction and shade one side lightly | 5 |
| The drawing looks squashed or stretched | Proportions guessed, not measured | Compare height and width with your pencil, then correct lightly | 4 |
| Lines are dark and stiff, hard to change | Too much pressure at the start | Redraw with a light touch and darken only at the end | 1 |
| Your hand smudges the page | The side of your hand drags over graphite | Rest it on a spare sheet and work from the top down | 1 |
| Objects float above the table | No shadow under them | Add the cast shadow where each object meets the table | 5–6 |
| "Everything I draw looks bad" | Comparing yourself with finished work online | Compare with your own week 1 page, the only fair comparison | 8 |
Early drawings are practice, not a verdict on you. Keep them anyway: they are the week 1 page you will want in week 8.
What should you draw after week 8?
Pick one small next goal and keep the 15-minute habit. If hands made you give up in week 7, give them a full week with how to draw hands, which breaks the hand into simple shapes first. If you just want something to draw tomorrow, choose a prompt by time and difficulty from the easy drawing ideas.
A small exercise for tomorrow: put a mug under one lamp and draw it on a quarter of a sheet in 15 minutes. Shapes, then one measurement, then the cast shadow. Date it and file it next to your week 1 page.