Hand-Building Pottery: Pinch, Coil and Slab, Step by Step
Hand-building means shaping clay without a wheel: pinch, coil and slab. Three small projects in three sessions, when a join needs score and slip, how to dry without cracks, and what each crack tells you.
By Lionel Rutledge ·
On this page
Hand-building pottery means shaping clay with your hands and a few simple tools instead of a wheel. There are three methods: pinch, coil and slab. Learn them in that order, one small project each, and spend most of your attention on two things: how the pieces join and how slowly they dry. That is where first pots tend to fail.
Is it easier than the wheel? For most beginners, yes. There is no machine and no centering, the step where you get spinning clay to run true before you can shape it. You also finish a real form in your first session. The wheel wins later, once you want round, matching mugs in numbers.
This guide walks you through a pinch bowl, a coil cup and a slab tray, then shows how to read the cracks. Which clay to buy and where to get your work fired are covered in our pottery guide for beginners. It sits with our other guides to making useful things by hand.
The plan: three pots in three sessions
Do one method per session, in this order, with a few days of drying in between. Each project teaches the skill the next one needs. I put pinch first because it has no joins: you learn wall thickness before anything can come apart. This is a suggested plan from our desk, not a tested course.
Scroll sideways for all 4 columns.
| Session | Method | Project | What it teaches you |
|---|---|---|---|
| 1 | Pinch | A small bowl from a tangerine-size ball | Even walls, and how clay behaves when it is too wet or too dry |
| 2 | Coil | A cup about 3 inches across, on a slab base | Building height in stages, and blending one coil into the next |
| 3 | Slab | A tray about 6 × 4 inches and 1 inch deep, folded up from an 8 × 6 inch slab | Rolling an even slab, timing by stiffness, score and slip |
The three methods also mix freely. Ceramic Arts Network's overview of handbuilding says it plainly: "All handbuilding techniques can be used on one piece." Slab walls with a coiled rim are a typical example. The coil cup in session 2 does exactly that. Draping a slab over or into a bowl is not a fourth method either: it is slab building with a support, and an easy next project after the tray.
On the table
You need clay, a firm table and things most kitchens already have. For all three projects:
- Kiln clay that your studio or firing service accepts; one bag is enough to start
- A sheet of canvas or cotton to work on, so the clay does not stick
- A rolling pin and two wooden slats about 1/4 inch (6 mm) thick as rolling guides
- A blunt knife, an old fork or needle tool for scoring, a sponge, a small brush
- A cup of slip: clay softened in water to a thick cream
- Plastic bags or cling film to cover work in progress
Which clay? Buy the kiln clay your firing place accepts. For hand-building, my pick is a stoneware with a little fine grog (crushed fired ceramic). Leave smooth porcelain for later. Digitalfire's drying-crack page explains why: "Stonewares dry better than porcelains". The finer and more porcelain-like the body, the harder drying and firing get.
No kiln access yet? You can practise all three projects in air-dry clay. The result never turns into ceramic, though, and Crayola states plainly that "Sealing your work will not waterproof it". Our beginner guide compares air-dry and kiln clay in more detail.
You can skip a slab roller, a banding wheel and a bought tool kit for now. The rolling pin and the slats do the slab roller's job for a tray this size.
Before each session, wedge the clay. Wedging is kneading clay like bread dough. Digitalfire's glossary says "hand-built pieces will warp less and dry more evenly when the clay is thoroughly kneaded before use".
Keep clay you are not using wrapped. Unwrapped clay dries fast, and clay left out over lunch comes back stiff and cracky. A small scrap can be softened: AMACO's lesson plan suggests wrapping too-dry clay in moist towels for about 15 minutes before you work it.
Clay dust is the one health point at the table. Work and clean wet, and do your smoothing with a damp sponge while the clay is still damp. The beginner guide linked above explains why dry clay dust is the real risk.
Session 1: pinch a small bowl
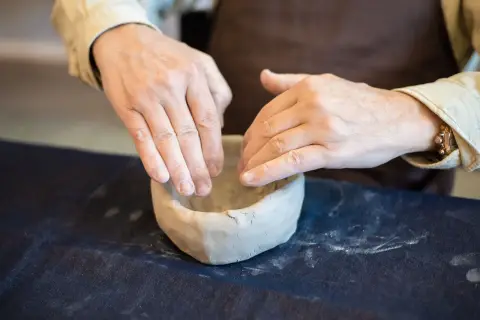
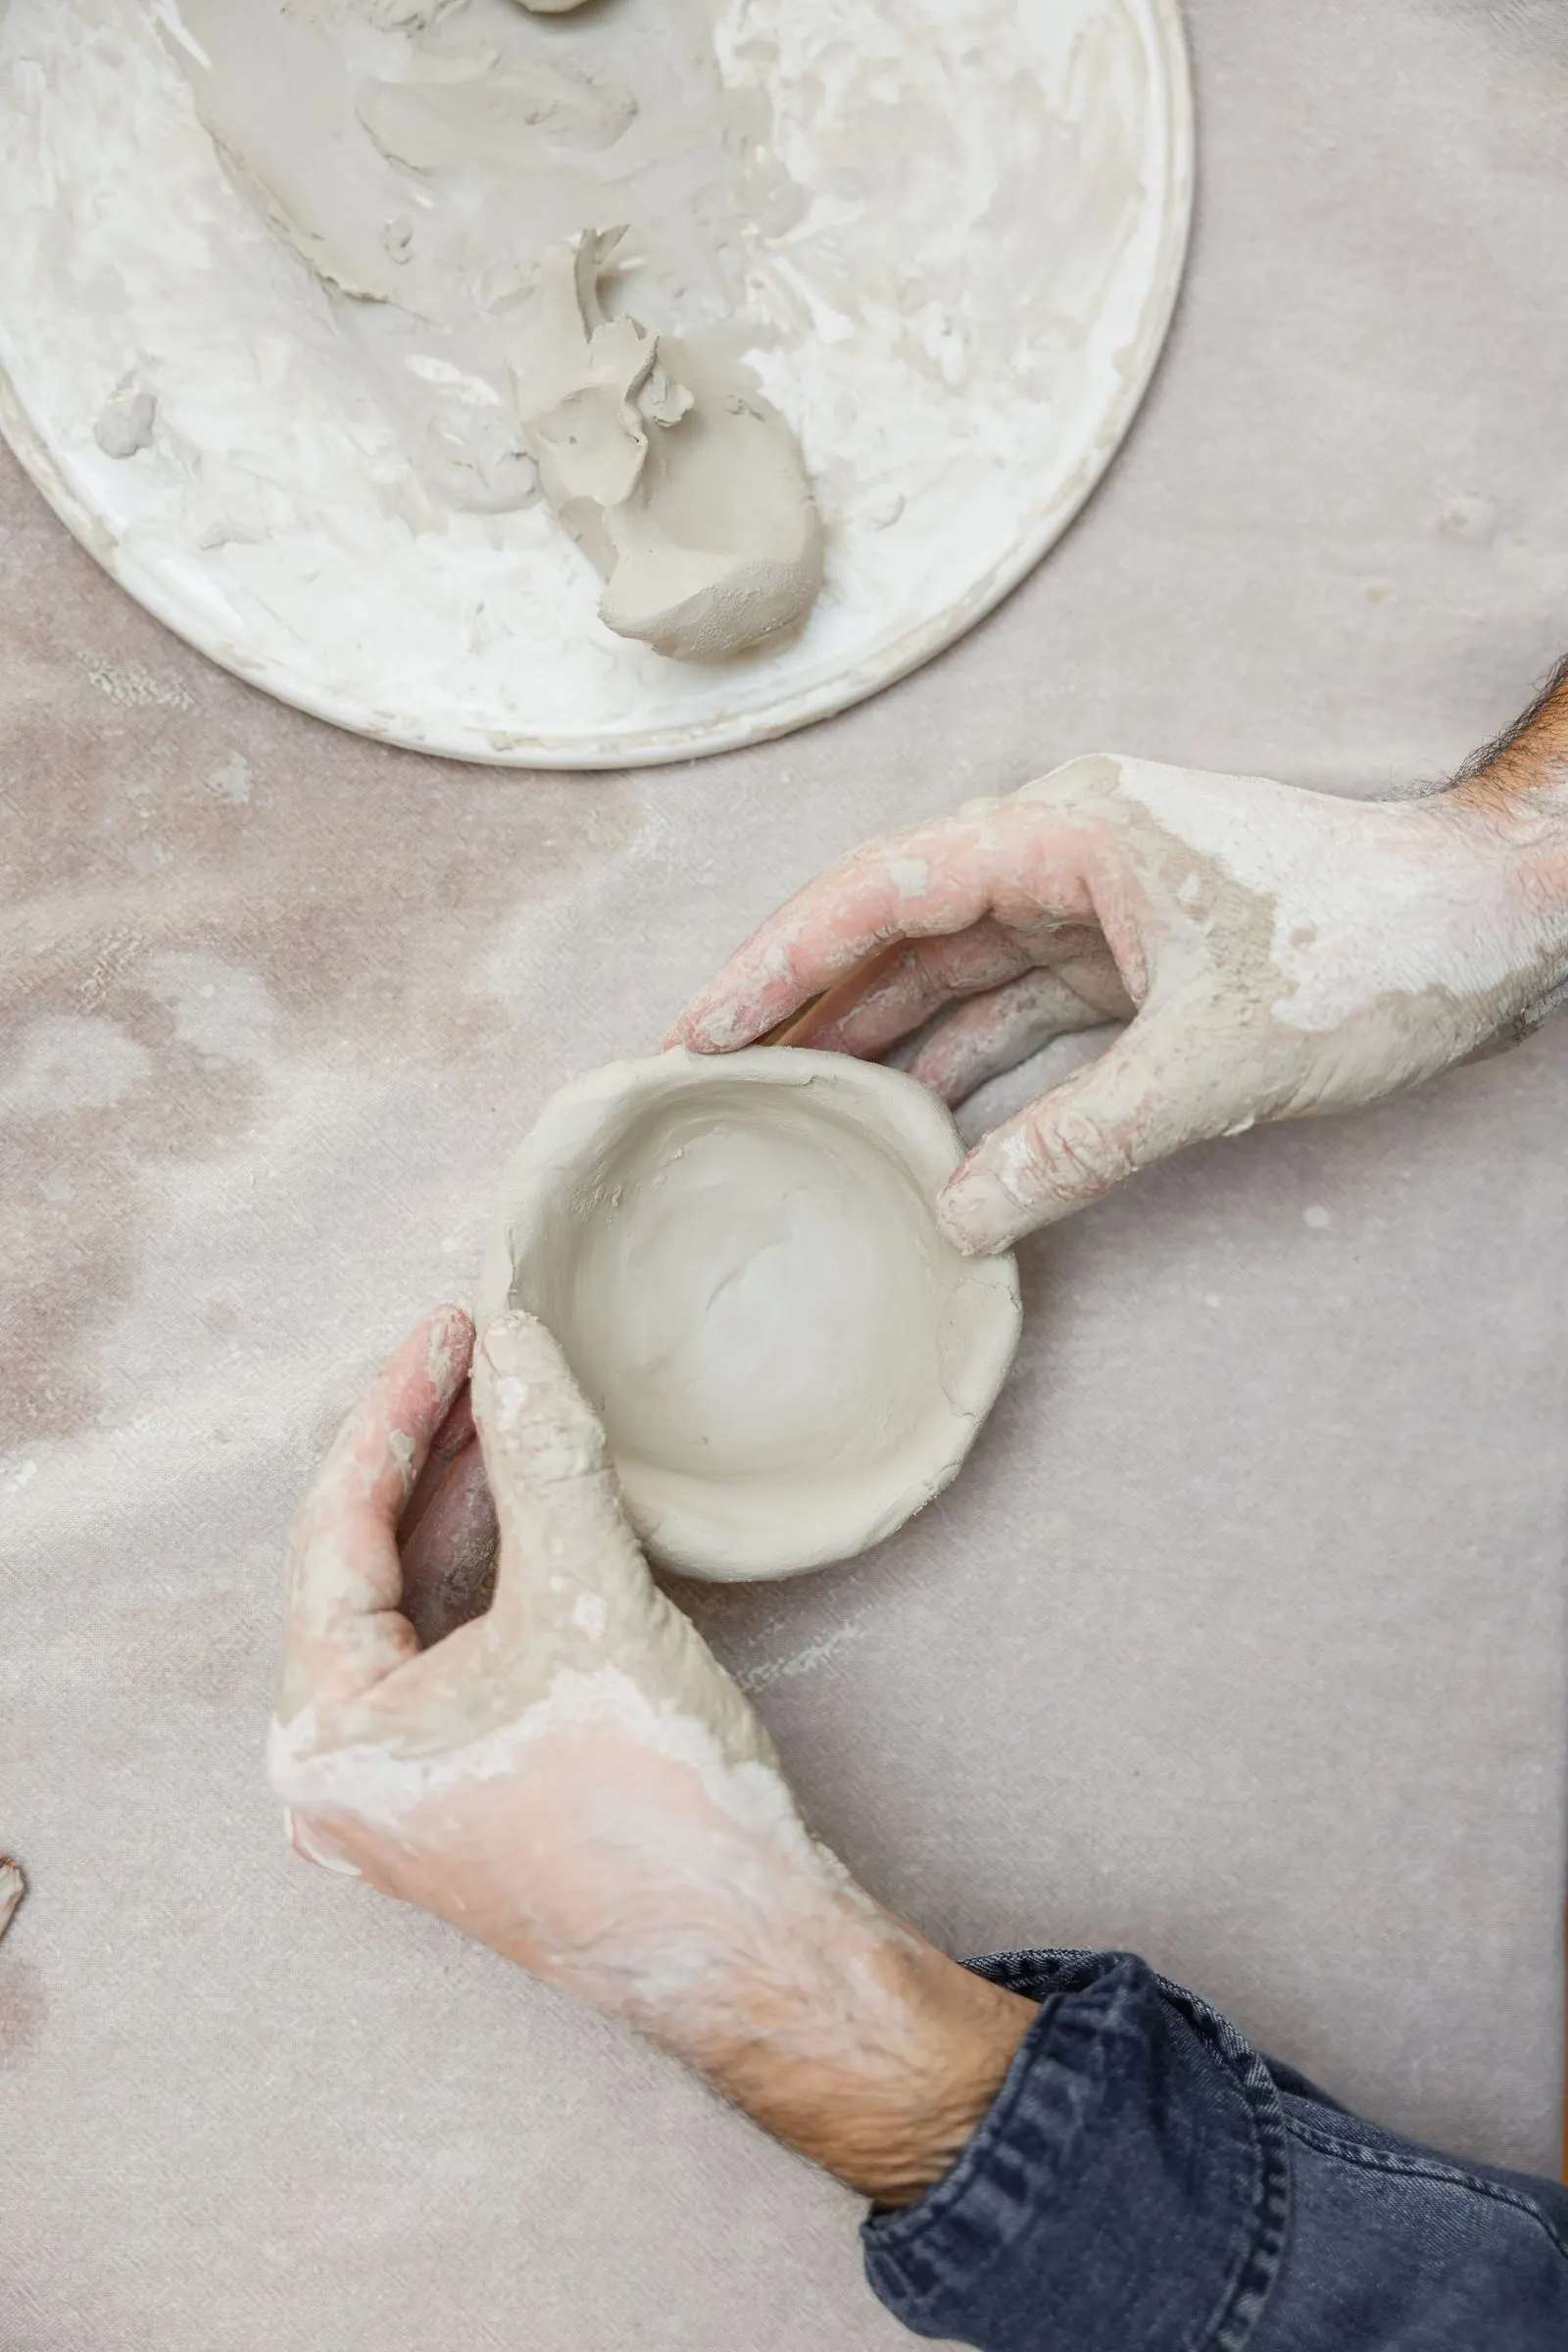
A pinch bowl is a ball of clay opened with your thumb and thinned by pinching while you turn it. It takes one sitting and needs no joins.
- Roll a ball. AMACO's school lesson starts with a sphere "the size of a tangerine". Its pinch-pot page adds a check: wrap your fingers around the ball, and your fingertips should just meet.
- Open it. Hold the ball in your less skilled hand. Push the thumb of the other hand about two thirds of the way in, as the AMACO lesson describes. Leave a thick floor; you will thin it last.
- Pinch from the bottom up. Thumb inside, fingers outside. Pinch gently, turn the ball a little, pinch again. Work in a slow spiral toward the rim.
- Smooth cracks at once. Small cracks at the rim mean the clay is drying out. AMACO says "any cracks should be smoothed by rubbing across them as soon as they form". Rub across the crack, not along it.
- Level the rim. Turn the bowl upside down and tap it lightly on the table. Smooth thick spots downward into the bowl.
Stop here and check. Squeeze the wall gently at the rim, the middle and the base. All three should feel about the same, roughly 1/4 inch (6 mm). That is the wall the potter Emily Schroeder Willis aims for in her pinched pitchers. A thick base under a thin rim is a typical first-pot problem. Thin the base now, while the clay is soft. Uneven walls dry unevenly, and uneven drying cracks (more on that below).
Session 2: coil a cup on a slab base
A coil pot is built from ropes of clay laid on top of each other and blended together. The base here is a small disc cut from a slab, which gives the cup a flat, stable floor.
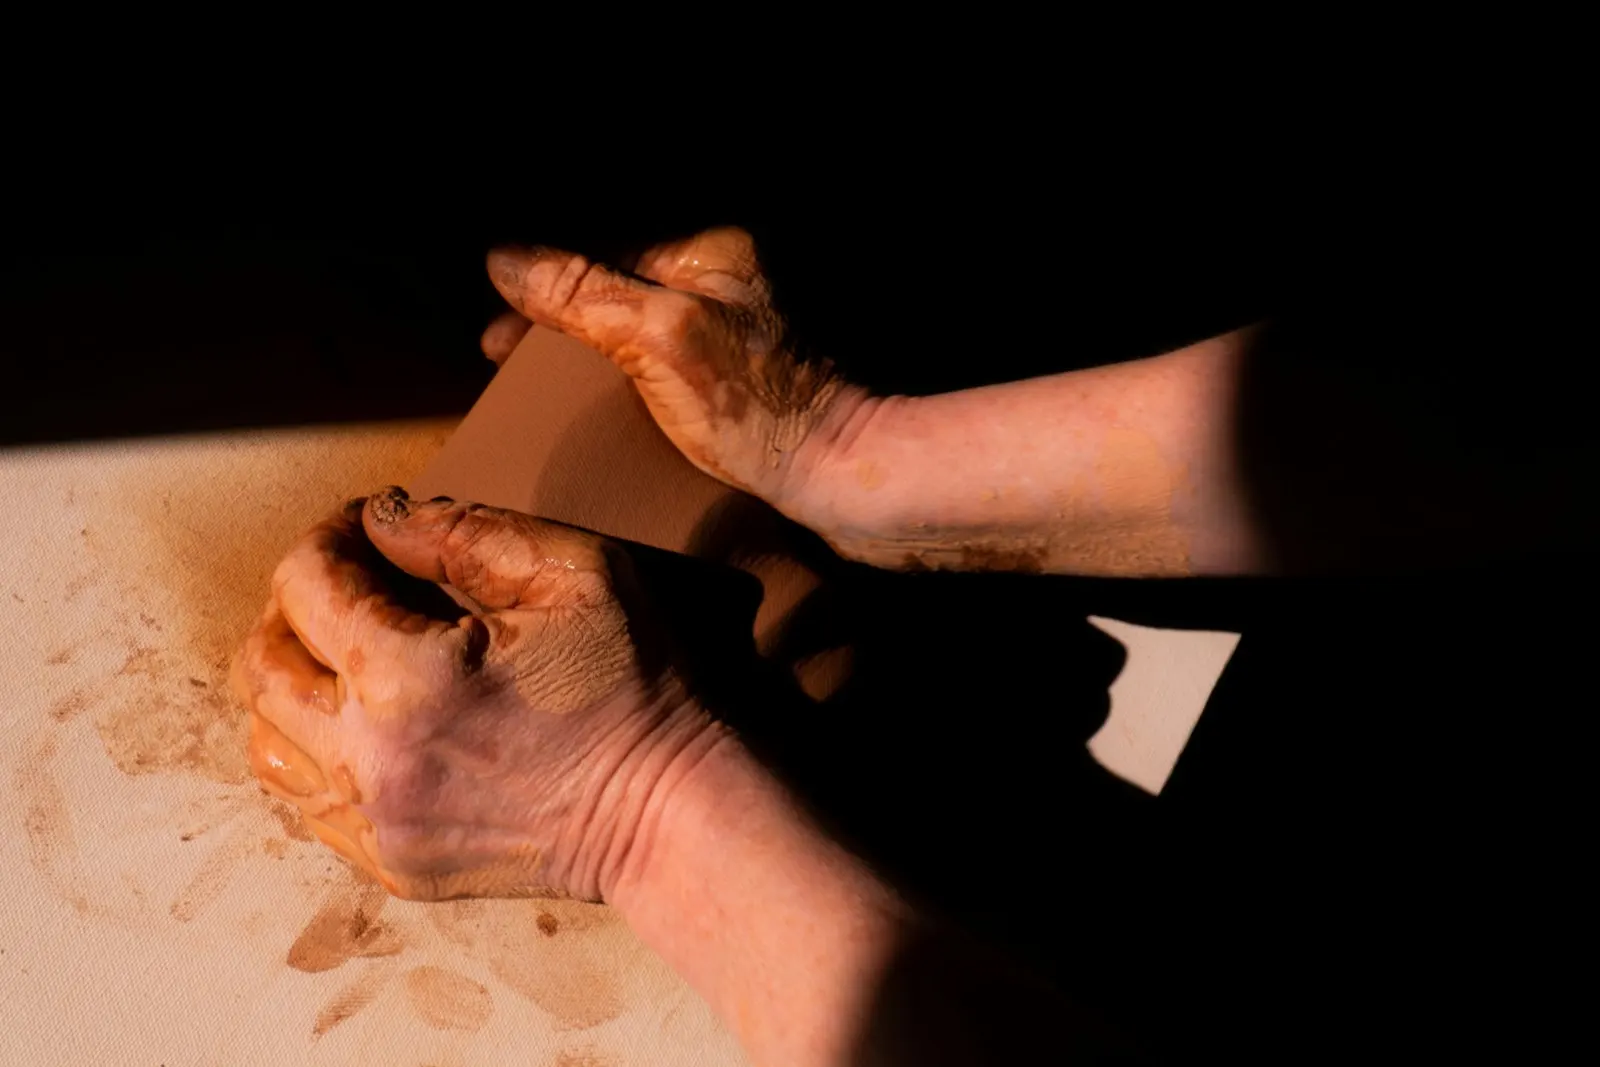
- Cut the base. Roll a slab between your 1/4 inch slats and cut a disc about 3 inches (7.5 cm) across.
- Roll coils one at a time. Roll each coil with your palms on the table, pressing evenly as you go. Make it thicker than the wall you want, as Willis advises in the same tutorial. Coils dry fast, so Amy Simons rolls one at a time and attaches it right away.
- Attach the first coil properly. Score the edge of the base and the underside of the first coil, brush on slip, and press them together. Willis lays her first coil the same way, on a scored and slipped base. Simons adds a second step: once the base has stiffened a bit, she flips the piece and scores and smooths the first coil to the base from below. She warns that skipping it leaves "an open seam that invites cracking along the bottom."
- Cut coil ends at an angle. Where a coil meets its own end, cut both ends at about 45 degrees and push them together, as Willis does. A slanted joint has more contact than a square butt joint.
- Blend every coil, inside and out. Drag clay from each new coil down over the one below with a finger or wooden tool. Fresh, soft coils need no scoring. Simons notes "there's no need to slip and score each individual coil, because the coils are small and the clay is wet."
- Build about 2 inches, then pause. Simons works up about two inches at a time. If the wall starts to sag, let it firm up before adding more.
Stop here and check. Before the next round of coils, the lower wall should be firm but not dry. Willis describes it as "slightly softer than leather hard", which she says can take "anywhere from three hours to a whole day". Cover the rim with plastic while you wait. If the top has stiffened, score the top edge and use slip before the next coil.
Session 3: a slab tray with folded corners
A slab tray is a flat sheet of clay, cut to shape, with its sides folded up and the corners joined. It is the project where timing by stiffness matters most.
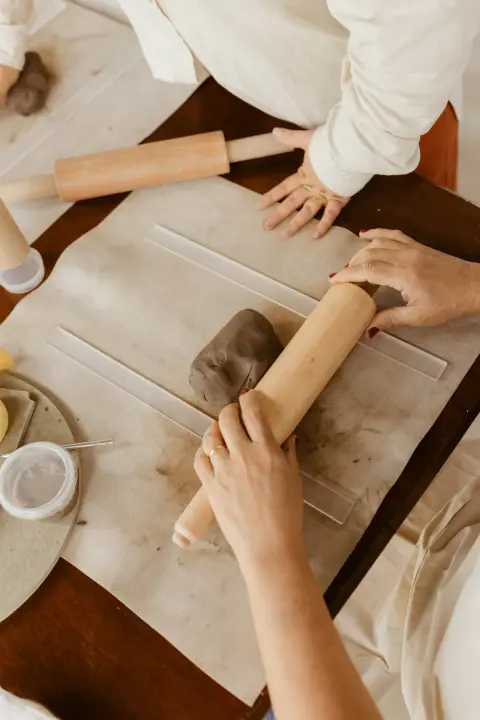
- Roll the slab in several directions. Roll between the slats, turning the slab and the direction as you go, and flip it once halfway. Thomas Anderson's warping guide on Ceramic Arts Network says "rolling in one direction stretches the slab as much as it compresses the slab", which shows up later as warping. AMACO's tea-bowl tutorial uses a 1/4 inch slab, the same thickness as your slats.
- Cut from the middle. Roll the slab to about 12 × 10 inches, then mark an 8 × 6 inch (20 × 15 cm) rectangle in its middle. That is the flat slab; folded up, it becomes a tray about 6 × 4 inches (15 × 10 cm) with 1-inch sides. Anderson advises cutting pieces from the center and avoiding "the outer 2 inches around the perimeter if possible". The edges of a slab are the most stretched part.
- Cut the corners. Mark a line 1 inch in from every edge. Cut out the 1-inch square at each corner, so the four sides can fold up. A paper template makes this cleaner. Cut the 8 × 6 inch shape with its corner squares from paper or thin card. Lay it on the slab and cut around it. Keep it for the next tray.
- Wait until it bends without tearing. Leave the slab uncovered for a short while, checking often. Digitalfire calls the right moment soft leather-hard: pieces "can still tolerate some bending, reshaping and assembly". Lift a corner flap. If it cracks along the fold line, it is too dry: cover it and wait. If it slumps, it is too wet: wait a little longer.
- Fold, score and slip. Fold each side up. Score both edges of every corner seam, brush on slip, and press them together.
- Reinforce the inside corners. Press a thin coil into each inside corner and blend it in. Priya Thoresen's coil tips suggest "small triangle coils for filling gaps and reinforcing corners."
Stop here and check. Look along each corner seam from outside. You should see no line where the two edges meet. A visible line is a seam that will open as it dries. Rub across it with a wooden tool until it disappears.
Score and slip, or just press?
Score and slip whenever one of the two surfaces has started to stiffen. Two fresh, soft coils only need pressing and blending. Scoring means scratching both surfaces; slip is the clay glue you brush between them.
Scroll sideways for all 3 columns.
| The two pieces you are joining | What to do | Source |
|---|---|---|
| Fresh soft coils, added right after rolling | Press and blend; no scoring needed | Amy Simons, Pottery Making Illustrated |
| A new coil on top of a wall that has stiffened | Score the top 1/4 inch of the wall and add a large wet coil | Simons, same article |
| First coil onto a slab base | Score and slip; once the base stiffens, score and smooth the seam from below | Willis, Simons |
| Slab edges, handles, feet | Score, then slip or vinegar | AMACO tea-bowl tutorial, AMACO Three Cups |
| A part much drier than the piece it goes on | Do not join yet; let both reach the same stiffness | Digitalfire, drying crack |
| Bone-dry clay | Do not join; it will separate | See "When the crack is beyond repair" below |
Two details decide whether a scored join holds. First, use little slip. Digitalfire advises "only enough slip (of thick cream consistency) to make the join (no excessive squirting out at the perimeter)." Wipe away what squeezes out. Second, round off sharp inside angles at a join. Digitalfire says drying cracks "like to initiate inside sharp acute angles."
AMACO lists vinegar as an alternative to slip for scored joins. Its joining tutorial explains what it does: "The acidity of the vinegar breaks down the clay a bit, and makes it sticky". Digitalfire adds that vinegar thickens a clay slurry, the watery clay that slip is made of. AMACO's author says vinegar joins are stronger than water or slip alone. That is the maker's claim. The join test at the end of this page lets you check it with your own clay. AMACO also warns that vinegar dissolves slip-cast pieces, so keep it to hand-built work.
Drying: slow is good, even is better
Dry every part of the piece at the same pace. Drying speed matters less than evenness. Digitalfire's glossary puts it this way: "fast-yet-even drying results in fewer cracks than slow-but-uneven drying." Clay shrinks as it dries. When one part shrinks before the part next to it, the stress has to go somewhere, and it goes into a crack.
- Cover it loosely the first night. AMACO's school lesson covers cups with plastic so they "set up overnight and even out in moisture", then lets them dry completely uncovered.
- Go slower with bigger pieces. For her coil-built pitchers, Willis lets the piece "dry under plastic for at least three days", then opens the plastic gradually over several days. A tray or cup sits between the two.
- Protect the thin parts. Rims, handles and corners dry first because air reaches them from more sides. Drape a strip of plastic over them, or turn a bowl rim-down once it can hold its shape.
- Smooth now, with a damp sponge. Do your final smoothing at leather hard with a damp sponge, not with dry tools or sandpaper. The UK Health and Safety Executive's ceramics guidance says dry fettling of leather-hard ware, trimming and smoothing it with dry tools, "can create high levels of dust".
- Test for bone dry before firing. Sue McLeod's touch test in Ceramics Monthly: "Damp clay is cool to the touch, whereas dry clay is room temperature." Check the bottom and the inside too, as she advises. Cool means wait.
The air-bubble warning is half wrong. Many beginner guides say trapped air bubbles make pots explode in the kiln. McLeod calls that a myth: "Only water leads to explosions." Enclosed air matters only because it can keep moisture trapped inside. So the fix is full drying, not a hunt for every bubble. For a closed hollow form, McLeod still advises a hole: it lets dry air circulate inside, so the piece dries more thoroughly before firing. In the kiln it also gives any remaining steam a way out.
Plan for shrinkage
Your pot comes out of the kiln smaller than you made it. Clay makers list a shrinkage figure for each clay. Laguna lists its B-Mix 5 at a shrinkage of 12% and its EM100 white earthenware at a shrinkage of 8%. Laguna does not say whether that covers drying and firing together. Most likely it does: Digitalfire puts firing shrinkage alone at about 5–6% for stonewares and 3–4% or less for earthenwares. So read the figures as total shrinkage, from soft clay to fired pot, and the table below as an estimate.
Here is what that does to the finished session 3 tray (the folded tray, not the flat slab). Method: each length × (1 − shrinkage), so × 0.88 or × 0.92.
Scroll sideways for all 4 columns.
| Finished tray, as made | Listed shrinkage (read as total) | Comes out at about | |
|---|---|---|---|
| Tray in B-Mix 5 | 6 × 4 in, 1 in deep (15 × 10 cm, 2.5 cm deep) | 12% | 5.3 × 3.5 in, 0.9 in deep (13.2 × 8.8 cm, 2.2 cm deep) |
| Tray in EM100 | 6 × 4 in, 1 in deep (15 × 10 cm, 2.5 cm deep) | 8% | 5.5 × 3.7 in, 0.9 in deep (13.8 × 9.2 cm, 2.3 cm deep) |
The figure is per length, so volume drops faster. A cup that shrinks 12% in every direction keeps 0.88 × 0.88 × 0.88 ≈ 68% of its volume. It holds about a third less than when you made it. At 8%, it keeps about 78%. If you want a cup that holds a real mug's worth, build it noticeably bigger than feels right.
Why did it crack? Symptom, cause, fix
Most cracks in hand-built pots come from uneven drying or a weak join. The beginner mistakes behind them are few. Walls of uneven thickness, rims that dry ahead of the base, joins between a soft and a stiff piece, too much slip, and slabs rolled one way. Find your symptom in the left column. The table gives the most likely cause, not the only one.
Scroll sideways for all 4 columns.
| What you see | Likely cause | Fix now | Next time |
|---|---|---|---|
| Small cracks at the rim while pinching | Clay too dry, or working too long | Rub across them at once (AMACO) | Start with softer clay; keep spare clay wrapped |
| An S-shaped crack across the base | Rim dried ahead of the base. Digitalfire: "Almost always this is because the rim of the piece was allowed to get ahead of the base." | Cover the whole piece and let moisture even out | Even wall and base thickness; cover rims while drying |
| A crack along the bottom seam of a coil pot | First coil only pressed on, not scored (Simons) | While damp: score, slip, press a thin coil into the seam | Score and slip the first coil to the base |
| A crack where a handle or foot meets the wall | The small part dried faster and pulled away (Digitalfire) | Compress and round the join with a tool while leather hard | Attach parts at the same stiffness; cover small parts |
| A split running into the wall beside a join | Excess slip left on the surface (Digitalfire) | Wipe off slip; compress the area | Use slip like thick cream, sparingly |
| Corners of a slab tray lifting or edges cracking | Slab rolled one way, cut from the stretched edge (Anderson) | Weigh it lightly with a board while drying, as Anderson does with flat tiles | Roll in several directions; cut from the center |
If cracks keep coming back, look at the clay. Grog is crushed fired ceramic mixed into the clay body. Digitalfire says grogs are added "to reduce drying shrinkage", and its drying-crack page adds that grog gives water more channels to escape. That is why I suggested a grogged clay under "Which clay?" above. If your first bag was very smooth, try a grogged body next. Check which ones your kiln accepts before you buy.
When the crack is beyond repair
My advice: do not patch a crack in bone-dry clay. Treat the piece as a lesson and recycle the clay, because unfired clay is never wasted. Digitalfire explains that dry clay "disintegrates when it is immersed in or exposed to water", a process potters call slaking. Break the piece into small bits, cover them with water, and let them settle. Pour the clear water off into a bucket, not down the sink. Spread the slurry on a plaster slab or old cotton to stiffen, and wedge it again. Do the breaking wet or outdoors; crushing dry clay makes dust.
A small next exercise: the join test
Before you build anything bigger, make one test piece. Cut three pairs of slab strips, each about 1 × 3 inches, from one slab. Join the first pair by pressing only, the second with score and slip, the third with score and vinegar. Let all three dry uncovered on the same board. Once they are bone dry, look at each seam, then snap each pair by hand. Does it part along the seam or somewhere else? This is a suggested exercise, not a result we can report. You will see for yourself which join your clay forgives. Put the pieces in your reclaim bucket afterwards.
When your first pieces are bone dry and fired once, the next step is color and a surface you can use. That is where our guide to ceramic glazes picks up.